One of my projects lately has been learning how to make homemade butter. You may be thinking why bother when commercial butter is so readily available? What it has come down to for me, what really makes it worth it, has been the underlying sweet cream flavor that is often lost in large commercial batches of butter. It’s been eons since I’ve had commercially made butter that hasn’t tasted like anything other then salted grease. It is one of the great tragedies of the American dairy industry that all our milk products need to be pasteurized in order to be marketable. Even dairies that make cultured butter in the U.S. are required to pasteurize their cream before adding the “culture” to them as a separate afterthought (which kind of defeats the purpose since you loose the matured flavor), and finding unpasteurized cream commercially? virtually impossible. Sure I could buy imported butter that may have that slightly tangy sweet taste reminiscent of the butter of my childhood, but it seems slightly counterintuitive, living in such a large dairy producing State, to buy butter that’s being produced an entire ocean away. I began my butter project by combining different dairy products in a blender in the hopes of striking a flavorful balance that would bring joy to my palate, and as it happens I’ve discovered that making butter can be; A) really fun, B) super easy and fast with the aid of a blender or food processor, C) even the most basic of cream combinations makes distinctly flavorful butter, and D) I’ve subconsciously added butter to my food snobbery list – if I’m going to consume something as artery clogging as butter, it better taste good.
What it really comes down to is… why didn’t I try this sooner?
Ingredients:
- 1 pint Heavy Cream
- 1/2 cup Half and Half
- 1/4 cup cultured Sour Cream (optional, but it gives your butter a slight tang)
- 1/4 – 1/2 tsp Salt (optional, for salted butter)
Directions:
- Make sure to retain a cool work space when working with butter. If your kitchen is feeling warm you might want to place your equipment into the refrigerator to cool before getting started. This might include a strainer, a spatula, and a bowl or two.
- Combine your creams in a blender. If you have decided to add the cultured sour cream to your butter, you may choose to gently combine the creams and then overnight them, or let them set for a few hours, to strengthen the flavor before blending them into butter.
- Blend your creams until they thicken, as you would expect them to do if you were making whipped cream. Keep on blending them past the point of solid, and until they begin to liquify again. It is at this point where you will begin to see the fat clumping together into chunks and the liquid thin out into the buttermilk.
- Once the buttermilk seems to be sufficiently thin, and there are large clumps of butter visible, stop the blender.


- Place a fine meshed strainer or cheese cloth over a bowl.
- Pour the contents of the blender into the strainer in the bowl. The butter should collect in the strainer allowing the buttermilk to trickle into the bowl below. Keep and store your buttermilk for later use.
- Bath your butter in cold water. You can do this by filling a large bowl with iced water. Chill your hands in the water before picking up the butter and gently washing the excess buttermilk off of it. Or, my preferred way of doing this, is to run the tap water until it’s as cold as you can get it, and then moving the metal strainer of butter under the running water, while using your cold fingers to gently clean it.
- Allow the water to drip off of the butter.


- Place the butter in another bowl, and add the salt to it. (optional: for unsalted butter skip down to step 11)
- The addition of salt will cause some further moisture to drip from the butter. Place the butter into another strainer, a large coffee filter or cheese cloth would work well, and squeeze out the remaining liquid.
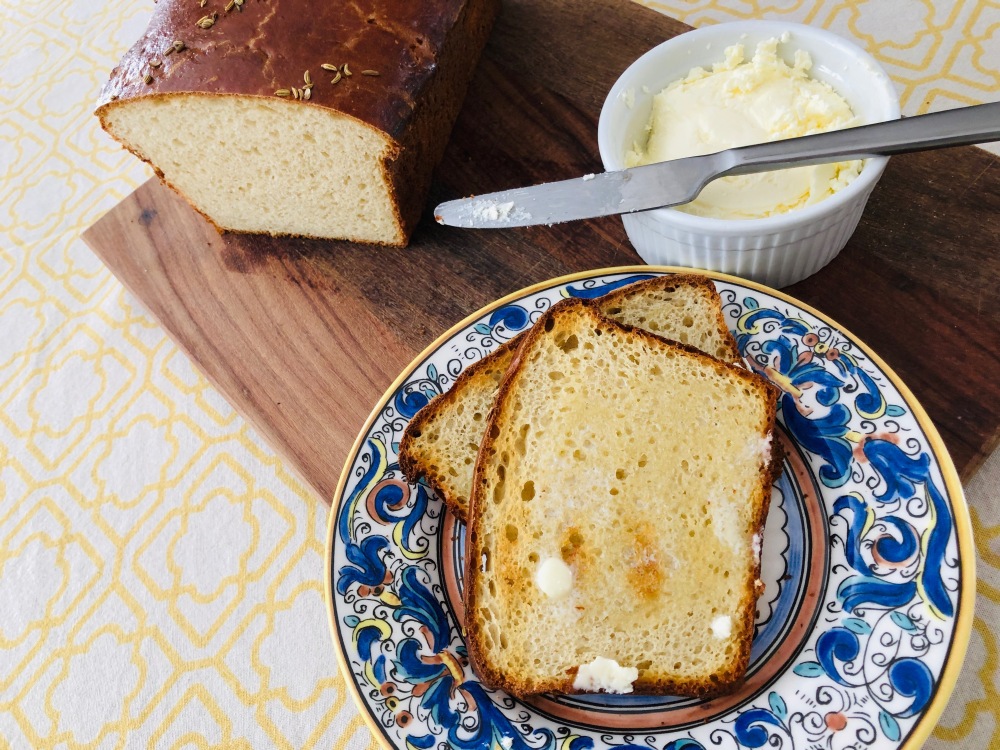
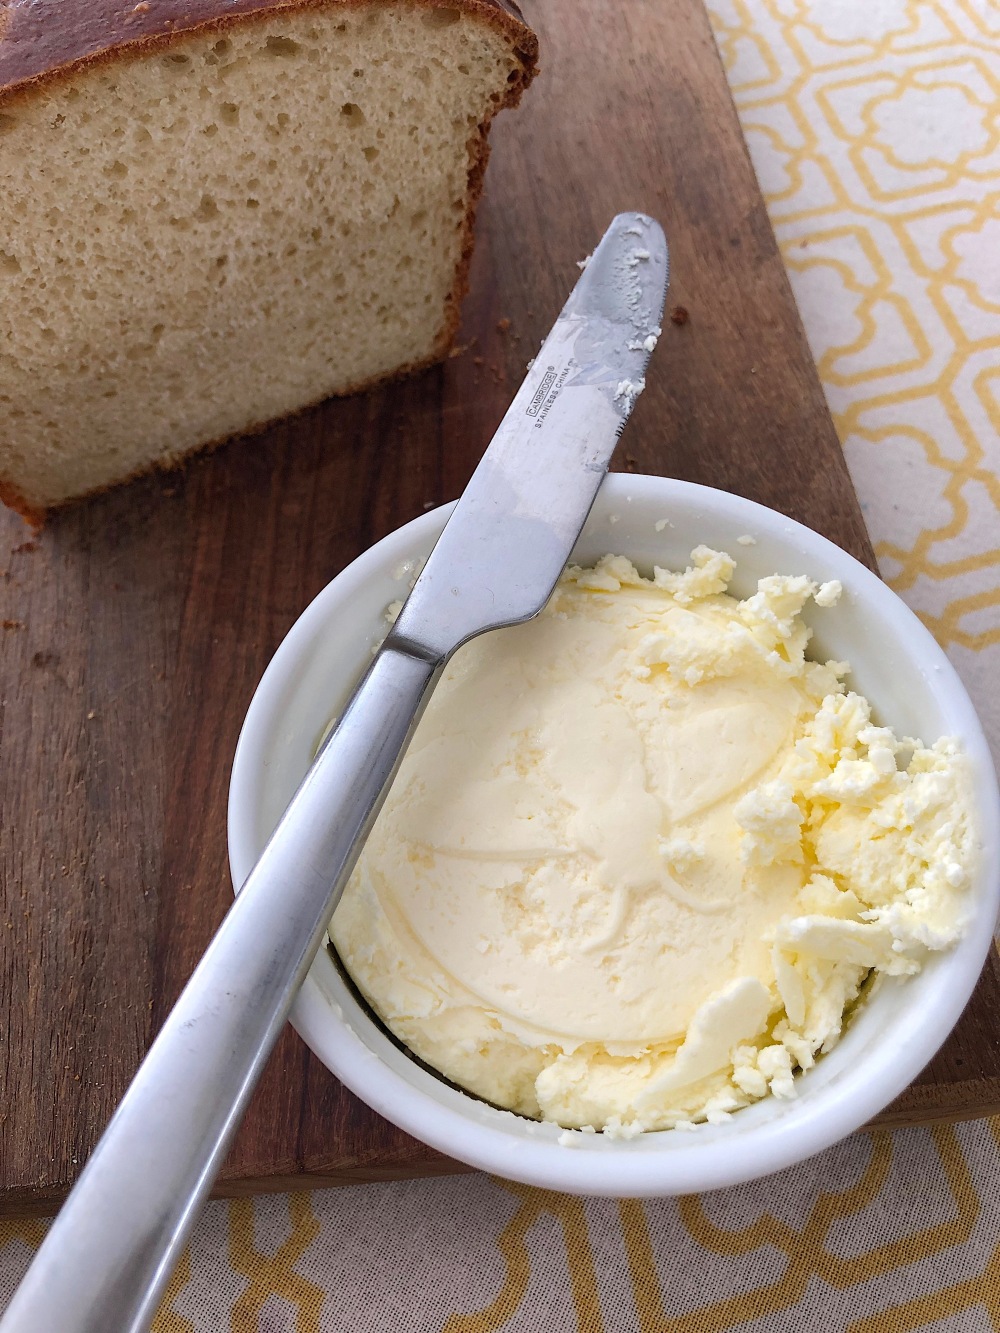
- Place the butter into a butter mold. I like to use small round ceramic ramekins.


- Cover your butter tightly with plastic wrap and chill your butter for a couple of hours until solid.
- Remove the butter from the fridge and allow it to soften slightly before use. Store the butter in the fridge in an airtight container to limit “old fridge smell” from effecting the butters taste. I have found that bee wrap works really well for storing butter.


This is such a great idea, I bet it tastes better than shop-bought butter!
LikeLiked by 1 person
It does! and it’s so easy to do. The blender does all of the work!
LikeLiked by 1 person