Steps on how to preserve your summer bounty for the lean days of winter.
I will not lie, when I first started canning food, I was terrified. What if I accidentally poisoned someone? What if the jars over heat and exploded in the water bath? Luckily, as I continued my canning research I found a few easy tips to ensure the safety of the process, and to make sure that no one winds up dead from eating my canned food- always a plus. I have been canning successfully for several years now, and below is an agglomeration of all that knowledge. Heed the warnings concerning the acid content of the food, and safely follow the procedures. A lot of the equipment you are working with will be extremely hot. A lot of my initial information came from Canning for a New Generation.


Canning Tools:
- Canning Jars
- Large Pot: the pot will need to fit your canning jars comfortably. When your jars are submerged there needs to be a couple of inches of clearance between the jars and the sides of the pot.
- Jar Basket: this is not necessarily needed for canning, but it will make the process a lot easier. It is a metal rack that you can load your jars into in order to lower and raise them from the boiling water.
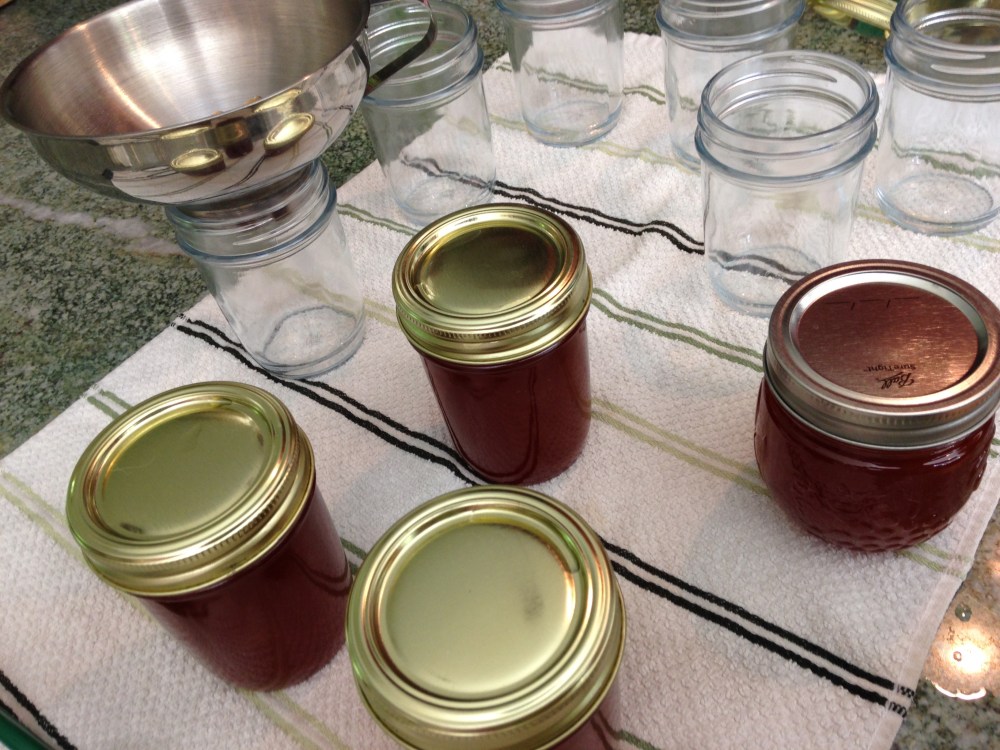
- wide Funnel: this will help you pour your concoctions into your jars without dirtying the jar rims. Dirty jar rims can lead to mold growing on the outside of the sealed jar lid making it hard to open the jars without also contaminating the sterile insides.
- Jar Lifter: rubber coated tongs that allows you to securely lift hot jars out of boiling water.
- Lid Lifter: A wand with a magnetic end that allows you to lift the sterilized jar lid out if the water.
- Ladle: you need a heat resistant ladle to transfer the hot liquid fillings into the jars.
- Chop-Stick: You can use a sterilized chop-stick to move the food around the inside of your jars or to poke out any air bubbles.
The Process:
- Fill your pot with water, insert the jar basket, and bring the water to a rolling boil.
- While you are waiting for the water to boil, wash out your jars with warm soapy water.
- Prepare the food you intend to can.
- Make sure your food has a high enough acidity content to make it safe for canning. If the food has 5% acidity or greater bacteria will not grow in it. Most pickled foods require vinegar of at least 5% acidity, and a lot of fruits naturally have a high level of acidity in them. When in doubt, add in some lemon juice, and that will aid in upping the acid content.
- Sterilize your jar lids and tools.
- Place the jar lid in a deep glass (heat resistant) bowl along with the magnetic end of the jar lifter, the ladle, the chop-stick, and the funnel.
- Now you have a choice of ladling the boiling water directly out of the large pot and into the lid bowl in order to sterilize them, or you can boil water separately for the lids. I find it easier to boil the water separately in a kettle, and then pour it right into the lid bowl. That way I do not have to worry about the water getting low in my water bath.

- Sterilize your jars.
- Place the empty jars in the boiling pot for a few minutes to sterilize them before filling them with food.
- Remove the jars from the water using the jar lift.
- They should be hot enough to dry within a few seconds of their removal from the pot.
- I lay a thick, clean towel down on the countertop to cushion the jars from the hard surface.
- Fill the jars with your preserves.
- Use the funnel to cleanly fill your jars with the food you are canning.
- Leave at least a quarter of an inch or a centimeter of space at the top of your jars. This will help with vacuum sealing the lids.
- For pickles and whole foods, you can arrange them in the jars with the chop-stick or clean fingers, before carefully pouring the still boiling pickling solution over them. Make sure that the pickling liquid fully covers the food.
- For jams and jellies, you can use the sterilized ladle to fill the jars while the jam/jellies are still boiling hot.
- Cover your jars with the lids.
- Use the lid lifter to place the lid seals onto the top of each jar.
- Use the lid lifter to place the lid rims onto each jar.
- Lightly tighten the lids. The lids should be loose enough to allow for the air to escape from underneath them, but tight enough that they will not fall off in the water bath.
- Sink your jars into the boiling water for 8-10 minutes.
- Keep your jars upright, and a couple of inches away from the sides of the pot. Make sure that there are a few inches of water above them to further pressurize them.
- Use the jar lift to carefully remove the jars from the water bath and allow them to cool.
- As the jars cool your should hear lid seals popping into place.
- After a few hours of cooling, revisit you jars and check to make sure that each of your lids has sealed into place.
- You should be able to tell if they have sealed or not by pressing down on the middle of each lid. If the lid pops back up, it has not been sealed properly and the food will spoil. If you have any jars that have not sealed properly you can store the food safely in the fridge for up to a month.
- Tighten the lids before storing.


2 Comments Add yours