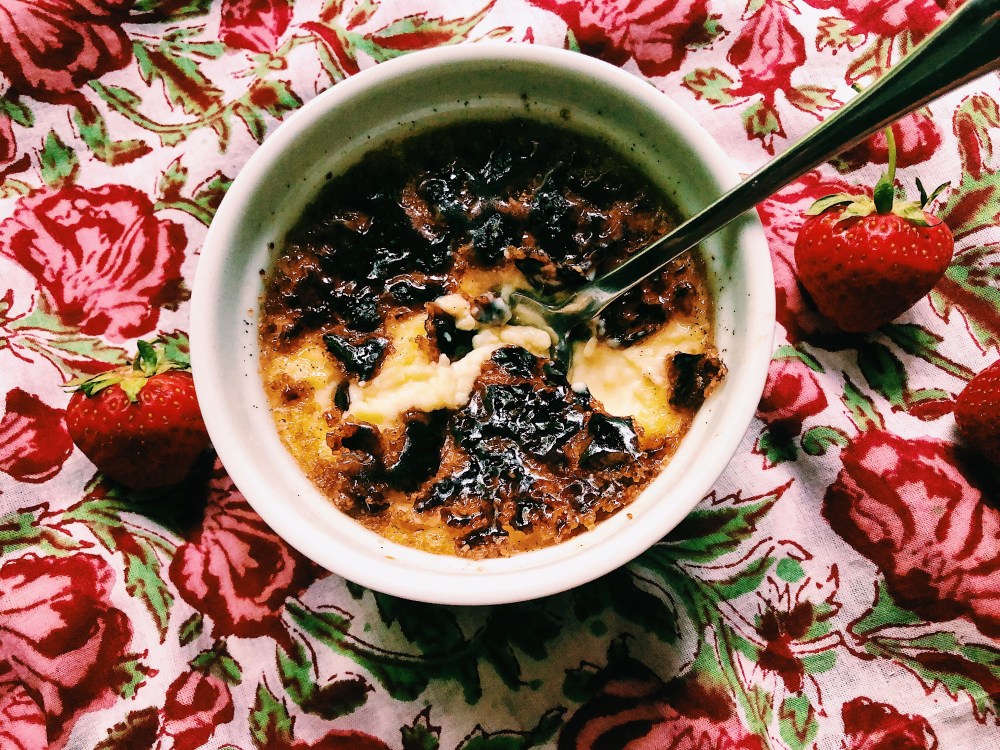
Crème brûlée, a rich, indulgent dessert classic, is surprisingly easy to make – four simple ingredients, a little technical skill (easily established with a few rounds of practice), and voilà! You’ve got a luxurious dessert that never disappoints.
Ingredients:
- 1 cup Heavy Cream
- 2 Egg Yokes
- 1/4 cup Sugar
- Vanilla Bean (optional, for flavor, you can also substitute with some vanilla extract or paste)
- Raw Sugar or Brown Sugar for caramelizing
Directions:
- Preheat oven to 300 F (~149 C).
- Gently heat the cream with vanilla bean. For a deeper vanilla flavor, do this the night before, and let the vanilla to steep in the cream overnight, reheating the cream the next day when your ready to put together the custard.
- Use the back of a knife to squeeze the vanilla seeds out of the bean pod. Add the vanilla seeds back into the cream and discard the bean pod.
- Whisk together the egg yolks and sugar.
- Temper the egg yokes by adding a splash of the hot cream to them while continuing to whisk. Keep in mind that the egg yolks will start to scramble if exposed to too much heat at once.
- Gradually add in the remaining cream, continuing to whisk.
- Pour the custard into ramekins.
- Carefully lower ramekins into a hot water bath (a edged tray filled with water that should go no more then 2/3 of the way up the ramekins).
- Bake for about 40 minutes, but you really need to check on your crème brûlées. Your looking for a slightly set custard that still has a slight jiggle to it when gently moved.
- Move the ramekins to the fridge for a couple of hours to fully cool before serving – overnight is ideal.
- Place the ramekins in the freezer for 5 minutes, before sprinkling with a thin, even layer of raw sugar.
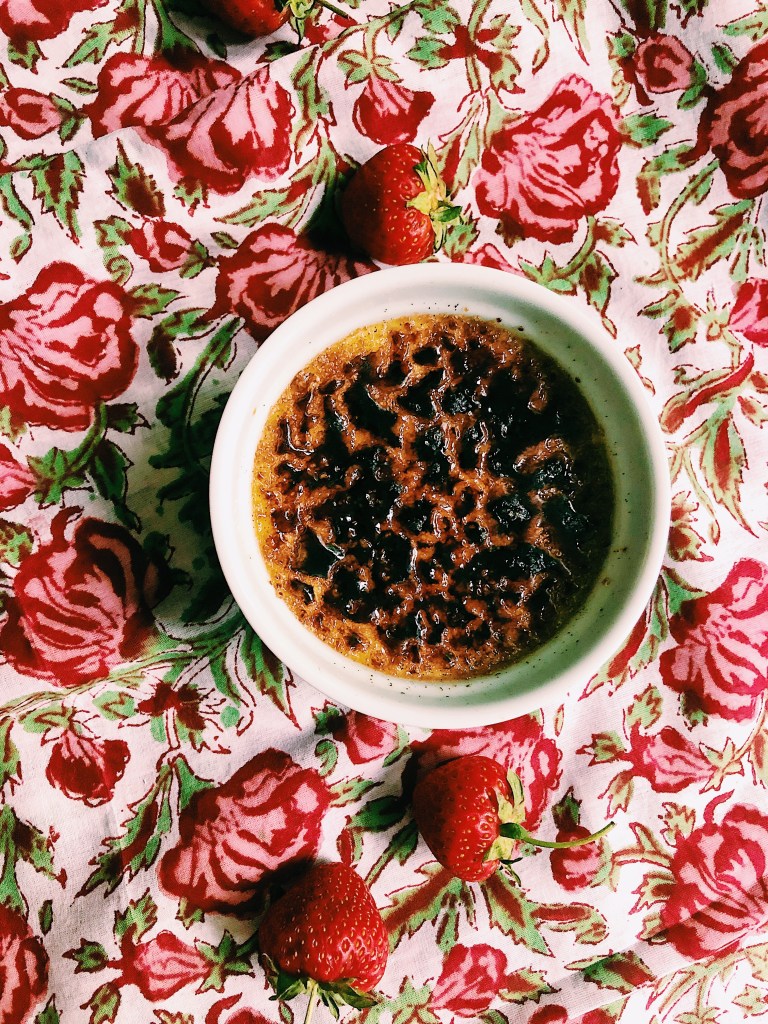
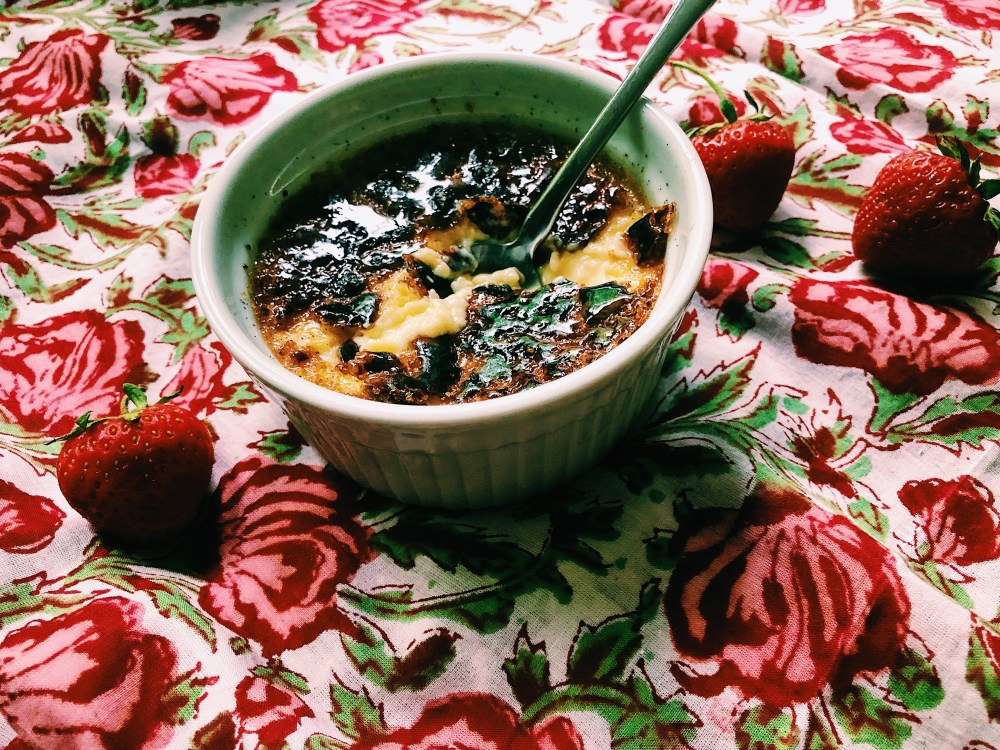
- Use a kitchen torch (or a hot broiler) to caramelize the sugar on top of the crème brûlée.
- Allow the crème brûlées to cool for a couple of minutes before serving.


One Comment Add yours