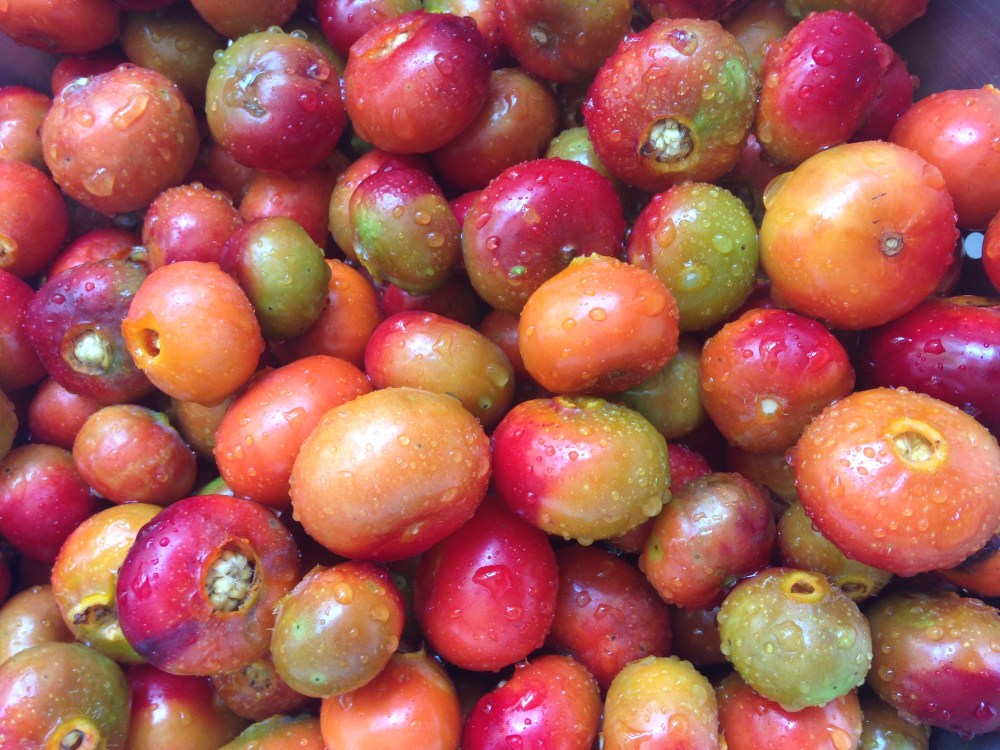
 Towards the end of July and in the early weeks of August when the rose hips, or beach plums, are starting to ripen into a bright orange-red, I can be found down by the beach harvesting a bucket full of them to bring home to turn into rose hip jelly – a decadent treat reminiscent of the high days of summer, of dreamy, warm days spent lolling around down by the beach.
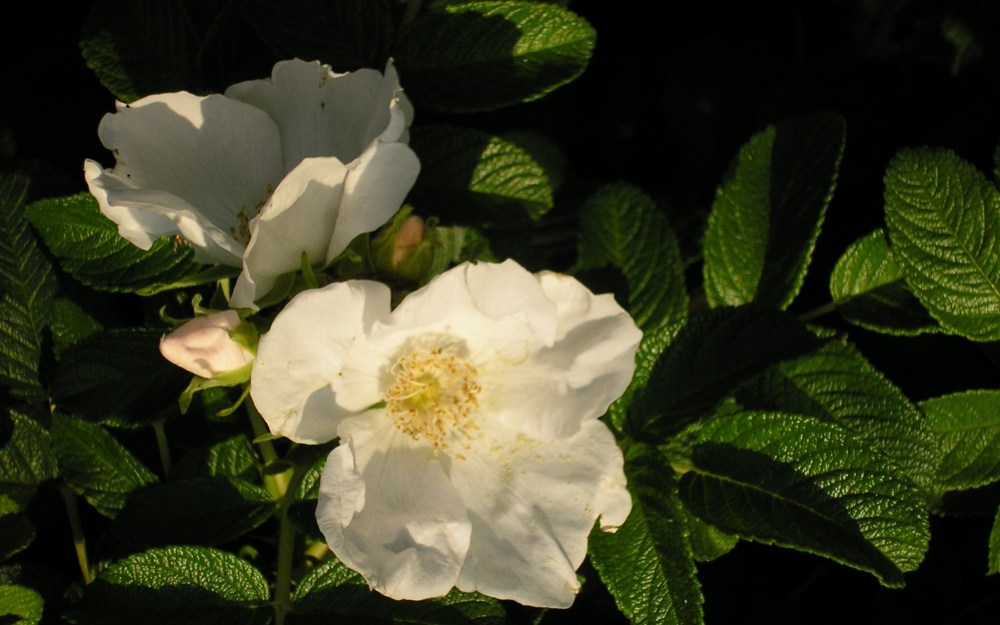
Beach plums or rose hips are the fruit found on wild roses. After the rose blooms and the petals drop off, the rose hip remains, ripening with the sun. I have always equated the sent and taste of rose hips to a strange cross between a tomato and an hibiscus flower. Red-zinger tea anyone? The flavor is truly unique and completely delightful, if not subtle. Rose hips have extremely high levels of vitamin C, easily outstripping the levels of vitamin C found in citrus fruits.


Even after several years of doing this, the amount of work that goes into each batch of jelly always seems to amaze me. Picking the prickly fruit is only the beginning of the struggle. Although, flouncing around in the sun while the being bathed by the sea breezes is no hardship, there are always the rose bush thorns to contend with, plenty of poison ivy to watch out for, and the occasional green-head that will just not leave you alone. Wearing a thick pair of garden gloves when harvesting your rose hips will make things a lot easier on you, sadly, it took me a few years to come around to the idea. One of the few time when it is perfectly alright to darn both your gardening gloves and your swimsuit. Then comes the two day struggle in processing your rose hips. I finally have the process down, but it is still a lot of work, time, and energy. I even make it harder on myself by not using any pre-processed pectin. I enjoy every minute of it.
Rose Hip Jelly
Each batch makes about 4 half pint jars of jelly. With this years harvest I was able to produce 3 1/2 batches of jelly (16 half pint jars of jelly – great for gifting).
Ingredients:
- a bucket (large bowl) full of Rose Hips
- 5 Green Apples
- Water + 2 1/4 cup Water (per batch)
- 1/4 cup fresh Lemon Juice (per batch)
- 3 1/4 cup Sugar (per batch)

Directions:
Day 1:
- Remove the prickles from the rose hips, and place the rose hips in a large stock pot.
- Quarter each apple, and add them, core and all, into the stock pot alongside the rose hips. This will naturally add pectin to your jelly.
- Fill the pot with water, and place it on the stove top.
- Bring the pot to a boil, before reducing the heat and allowing it to simmer until the rose hips have started to breakdown. This can take anywhere form 2 – 4 hours.
- Once the rose hips are done, you should be able to smash them with the back of your spoon, allow the mixture to cool.
- Place the mixture into the fridge overnight.
- Place a couple of small ceramic plates in the freezer for future jelly plate tests.
Day 2:
- Give the hips a quick mash using a potato masher.
- Set a strainer over a large bowl, and ladle one scoopful of the stock pot mixture into the strainer at a time allowing the liquid and pureed fruit to drip through into the bowl underneath while retaining the seeds and remaining membranes for disposal. You can also use a cheese cloth for this step if you prefer. The substance coming though should resemble a slightly runny, orange puree.
- Once all the fruit and liquids have been strained, you will want to use 3 cups of it for each batch of the jelly recipe.
- In a large pot combine the 3 cups of rose hip puree, 2 1/4 cups water, lemon juice, and sugar.
- Boil into a jelly. If you have a candy thermometer it should read 220 F when the jelly is done. If you have a lot of experience in jelly making you maybe able to eyeball it, but I have found that the thermometer is a safest bet for me.
- Once you believe the jelly is done you can double check by dropping a little bit of it onto one of your freezer test plates. This is also a good way to test the taste. After a couple of minutes on the plate, when gently prodded, the jelly should show a slight wrinkle to it demonstrating that it is ready for cooling. This is not always fool-proof, hence, my reliance on the candy thermometer.
- Ladle your jelly into jars for canning or store it in the refrigerator for up to a month.
- Once you have canned or stored your jelly, allow it to cool and set for 24 hours. This means leaving it in one spot and not moving it around, no matter how tempted you are after a few hours to tip it over and see if the pectin is working. Shaking things up before it sets will ruin the structure of your jelly.


One Comment Add yours