Crème de cassis is a black current liqueur, and a lovely complement to bitter dark chocolate – a little hint of sweetness hidden in an indulgently rich fruit flavor. I rushed to get this post out in time for Valentine’s Day. Here’s a lovely treat for your loved ones, not only is it seasonally appropriate, but it’s also homemade – perfect for the chocolate lovers in your life.
Tempering Chocolate
Over the past month, I’ve been working on my chocolate tempering skills, and along the way I have discovered a few tricks to aid me in succeeding in the process. Why is it important to temper your chocolate correctly, you might ask? It does seem like a lot of effort for little gain, but it’s a critical step in achieving high quality, beautifully glossy chocolates with that iconic snappy, crisp chocolate texture. In the plainest of terms, tempering chocolate is the process of regulating how the sugar crystals in chocolate transform under the application of heat while undergoing the melting process. Chocolate that hasn’t been tempered properly will take on a dull, cloudy grey color as it cools and it’s texture will be soft and chalky, not the most pleasant of mouthfuls. A basic chocolate tempering process follows three, seemingly, simple steps – melt the chocolate, cool the chocolate, and then reheat the chocolate. Simple right? Not quite.
The first pitfall, right out of the gate, is the quality of the chocolate in use. Not so much, in that you have to use the bougiest chocolate available, but in that, this is where ingredient content really matters. When tempering chocolate you should look for chocolate that has only two or three key ingredients in it – cocoa, cocoa butter, and in the case of white and milk chocolate, milk. You should also take note of the percentage of cocoa butter present in the chocolate, and select chocolate with a 30%-40% cocoa butter content. This will insure that your chocolate has enough of a fat content to undergo the melting process without ceasing. Selecting chocolate that has already been pre-molded into small pieces, will save you the headache of chopping up blocks of chocolate into even pieces, and buying chocolate that has already been properly tempered, a quick, simple visual check for shininess and gloss, is a good jumping of point for assessing the quality of the chocolate, and it’s ability to undergo the tempering process. This visual check isn’t an absolute assurance of quality, since additives such as hydrogenated oils can be added to chocolate to retain that gleam, but if the chocolate you are considering using is dull, cloudy, and grayish, save yourself from a world of frustration, and don’t bother, it’s a clear indicator of low quality or chocolate that has exceeded it’s shelve life.
The next tempering hang up is our ability to regulate chocolate’s temperature. Easy, you might say in this day and age of fancy digital thermometers, and yes, a fast read digital thermometer will make this entire process a lot easier, but melting chocolate can be a delicate process, and there are a few key things to keep in mind while doing it. Firstly, it is difficult to properly regulate the temperature in a small amount of chocolate, it will oscillate too widely to maintain the delicate temperature balance required for proper chocolate tempering. I would suggest setting a 12 ounce minimum amount of chocolate to any chocolate tempering project. One of the wonderful things about chocolate tempering is that you can reuse previously tempered chocolate, so while 12 ounces might be too much for your current project, you can tuck your leftovers away for your next chocolate binge. Secondly, stirring is key to maintaining an even tempurature in your melted chocolate. Chocolate is, unfortunately, not one of those things you can just walk away from and given time… voila! No, it needs to be babied. Thirdly, the type of chocolate in use will affect the melting and tempering temperatures of the chocolate. Below is a stripped down list of ideal tempering temperatures based off of chocolate type as listed in the Ferrandi book on French Patisserie.
Tempering Process: 1st – Melt 2nd – Cool 3rd – Re-heat
Dark Chocolate 122 – 131 F 82 – 84 F 88 – 90 F
Milk Chocolate 113 – 122 F 81 – 82 F 84 – 86 F
White Chocolate 113 F 79 – 81 F 82 – 84 F
Below I’m going to run through the chocolate tempering method and tricks that have worked best for me. I would recommend reading through the entire process prior to attempting it.
Special Tools:
- a Fast or Rapid Read Digital Thermometer – this is an important gadget to have on hand while learning how to temper chocolate. Serious pastry chefs can do it by feel, but since we don’t have years worth of experience in learning how to temper chocolate based off of the amount of sting it sets off when tested on our wrists, we are going to stick to the handy-dandy digital thermometer. A candy thermometer isn’t going to work well for this one, due to the high levels of movement, the constant stirring and the shuffling of bowls. My none-digital candy thermometer also doesn’t have a clear read on temperatures lower then 100 F. The digital thermometer isn’t exactly ideal either, since you can’t keep a regular watch on the temperature’s progression, but needs must.
Ingredients:
- 12 ounces Chocolate
Directions:
- Set up a double boiler, or a pan with a heat proof bowl nestled in it. When you usually set up a double boiler you want to make sure that your bowl doesn’t touch the surface of the water, in this case though, you want your bowl to be partially submerged in the water.
- Remove the bowl from the pan, and bring the water to a boil.
- Place 8oz of the chocolate in the removed bowl.
- Once the water boils, turn off the burner, and carefully place the chocolate bowl into the pan. Make sure that no water splashes or drips into the bowl as this will cause the chocolate to cease.
- Leave the chocolate to soften, until you can visually ascertain that about 2/3 of it is melted. Don’t stir.
- Meanwhile, fill a bowl (slightly larger then your chocolate bowl) with ice cubes.
- Once about 2/3s of the chocolate has melted, continuously stir the chocolate until the remaining chocolate has melted. Use your thermometer to check the temperature of the chocolate, and make sure it doesn’t exceed the temperature listed in the chart above. It can be a couple degrees over, but you want to make sure it doesn’t burn.
- Remove the chocolate bowl from the hot water, taking care to avoid any water droplets.
- Stir in the remaining 4oz of chocolate. This is a processes referred to as seeding. It is not a necessary component to the tempering process, but I have found that it helps speed things along by further cooling the chocolate.
- You have to keep stirring until your chocolate has cooled to the desired temperature. Reference the chart for the exact temperature desired based off of the type of chocolate you are using.
- Another trick I have learned to speed up this process, is to set the chocolate filled bowl into the bowl filled with ice cubes for a few seconds. Keep stirring. When you see the chocolate begin to stick to the sides of the bowl, remove it from the ice, and keep stirring until the chocolate has returned to it’s uniformed consistency. Check the chocolate’s temperature with the thermometer, and repeat this process until the chocolate has sufficiently cooled. It usually takes two or three rounds in the ice.
- Once the chocolate has cooled sufficiently, return it to the pan of hot water. Keep stirring. This step will only take a few seconds, if fact, I recommend checking the temperature after about 5 seconds, and every few stirs after that.
- Remove the chocolate from the heat. It is ready for use.
Crème de Cassis Truffles
Special Tools
- Polycarbonate Chocolate Mold
Ingredients:
- Tempered Chocolate
- 4 oz Semi-sweet Chocolate (in even pieces)
- 1/4 cup Heavy Cream
- 4 tbsp Crème de Cassis
Directions:
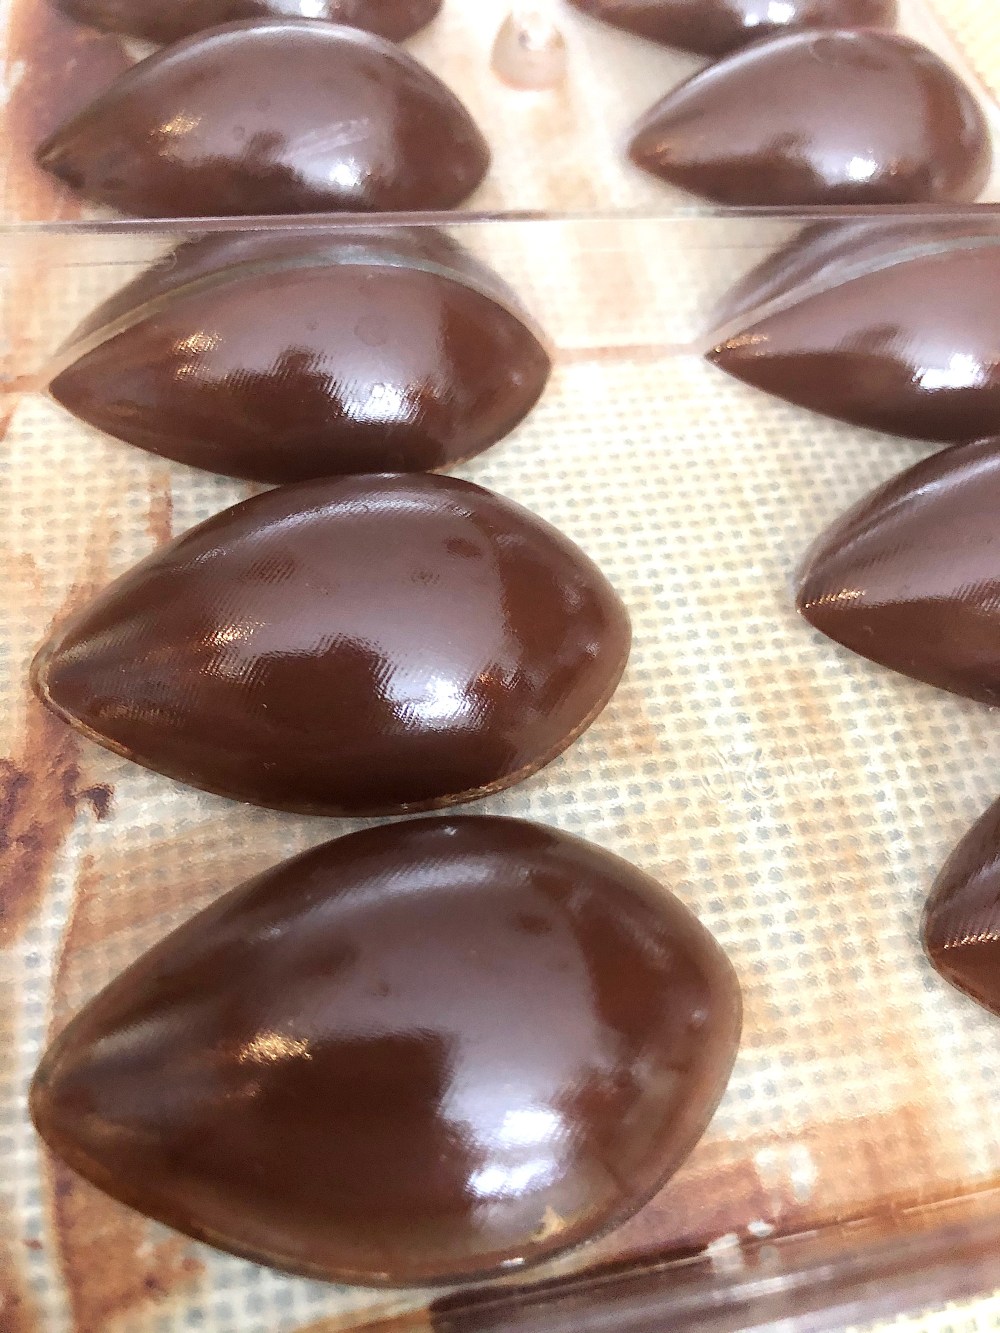
- Pour the tempered chocolate in the mold.
- Flip the mold upside down, and allow the excess chocolate to dip down onto a silicon baking mat or a sheet of parchment paper.
- Flip the mold right side up, and use the flat side of a plastic dough scraper to clean off the edges.
- Place the mold face down on a silicon mat or parchment paper, and leave it to cool.
- Pour the remaining tempered chocolate onto the silicon mat covered in the chocolate dribbles and allow it to cool. You’ll need to chop this chocolate up, and re-temper it at a later stage.
- Make the truffle filling.
- In a sauce pan heat up the cream and the creme de cassis.
- Pour the hot cream over the chocolate.
- Leave the chocolate to soften slightly, and then stir until smooth.
- Place the filling in the fridge until it has cooled enough to be cleanly piped into the chocolate molds. Check on it in the fridge and give it an occasional stir until it has reached that desired consistency.
- Flip the molds right side up, and pipe the truffle filling into the molds. Only fill the molds about 2/3s of the way.
- Temper the leftover chocolate, and use it to fill in the remainder of the molds.
- Scrape off the excess chocolate.
- Let the chocolates cool until solid.
- Place the chocolates in the fridge for 5 minutes.
- Flip the mold upside down, and gently shake out the chocolates.
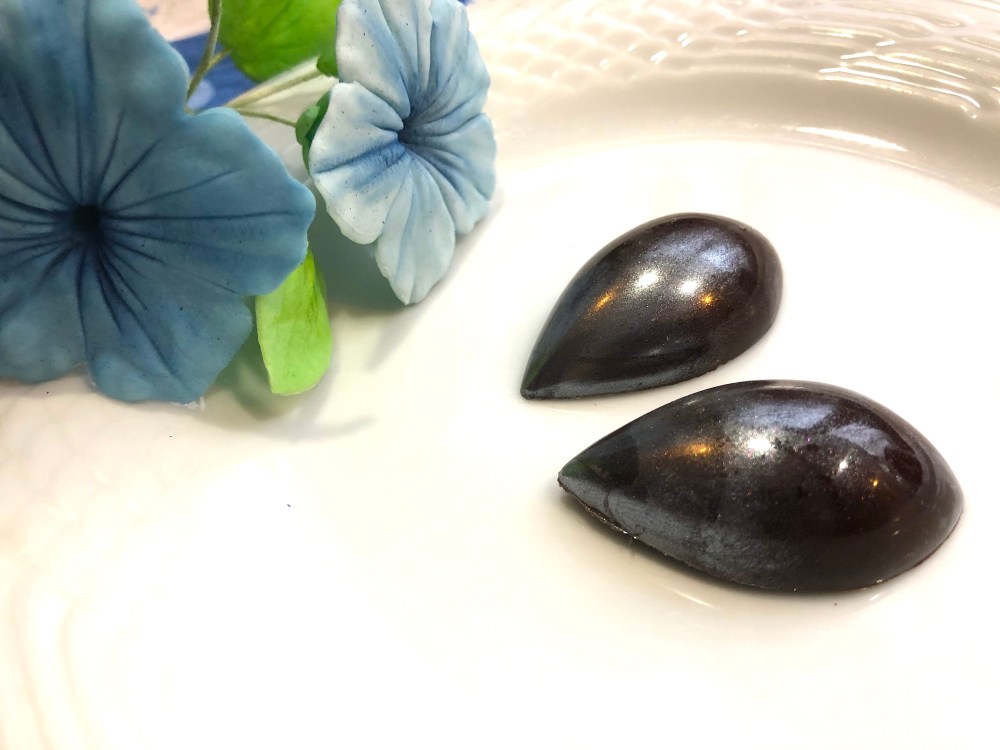
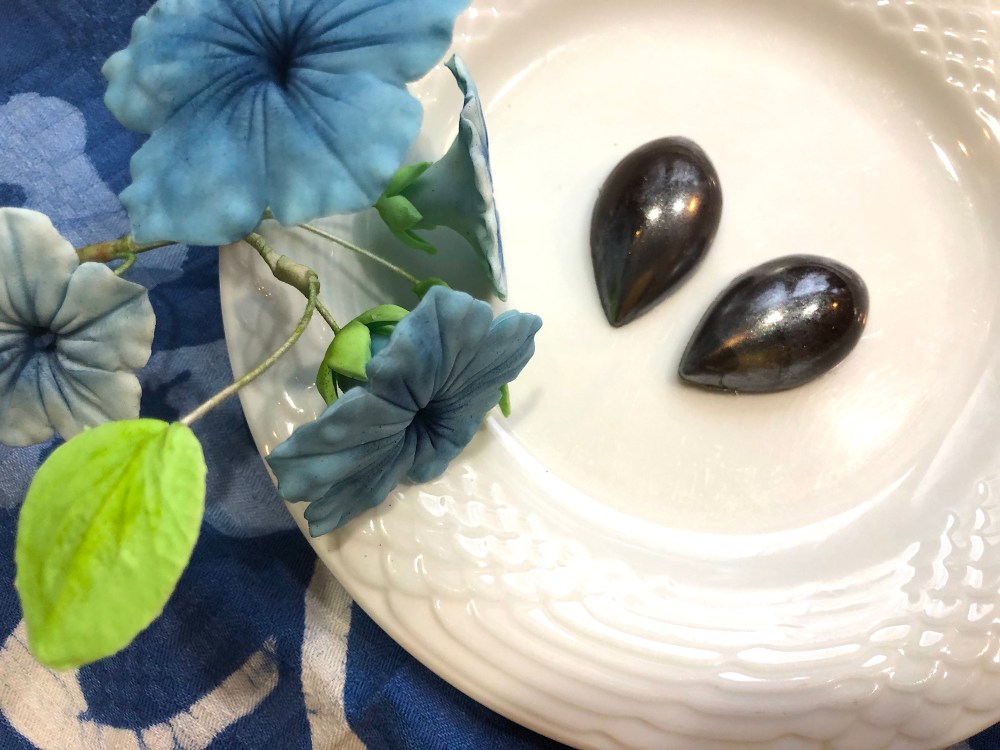
- I painted mine with some silver luster dust for some additional sheen.
April 14, 2020
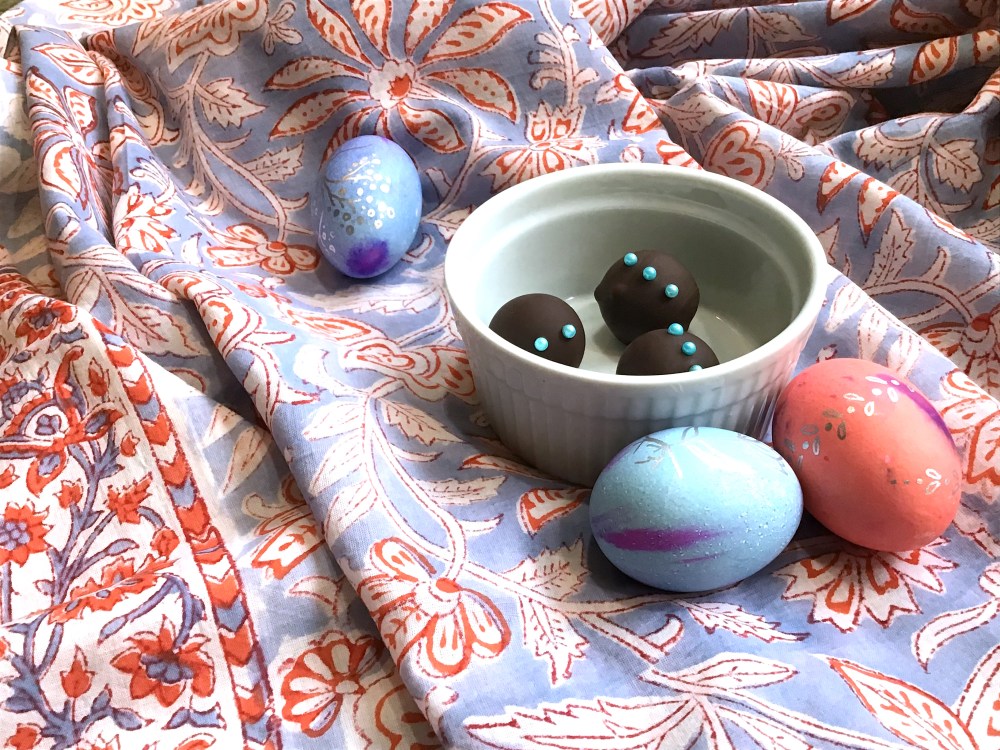
I made another adaptation of this recipe using mini sphere shaped silicon molds instead of traditional chocolate molds. The featured image is of this method of truffle making.
Directions:
- Make the cassis truffle filling, and fill the mini silicon sphere molds with it.
- Place the truffles in the fridge to set. This can take a couple of hours. I tend to leave them overnight.
- Pop the sphere halves out of the molds.
- Use a tiny amount of melted chocolate to adhere the two sphere halves into a whole sphere.
- Place the chocolates back into the fridge to set.
- Meanwhile, temper some chocolate to cover the truffles in.
- Dip the truffle spheres into the chocolate. I like to skewer my truffles with a tooth pick, and use that as a dipping handle.
- I used some sugar pearls to decorate my truffles, but sticking them into the wet chocolate.
- Let the chocolate covering cool, and enjoy.


Those look gorgeous.
LikeLiked by 1 person