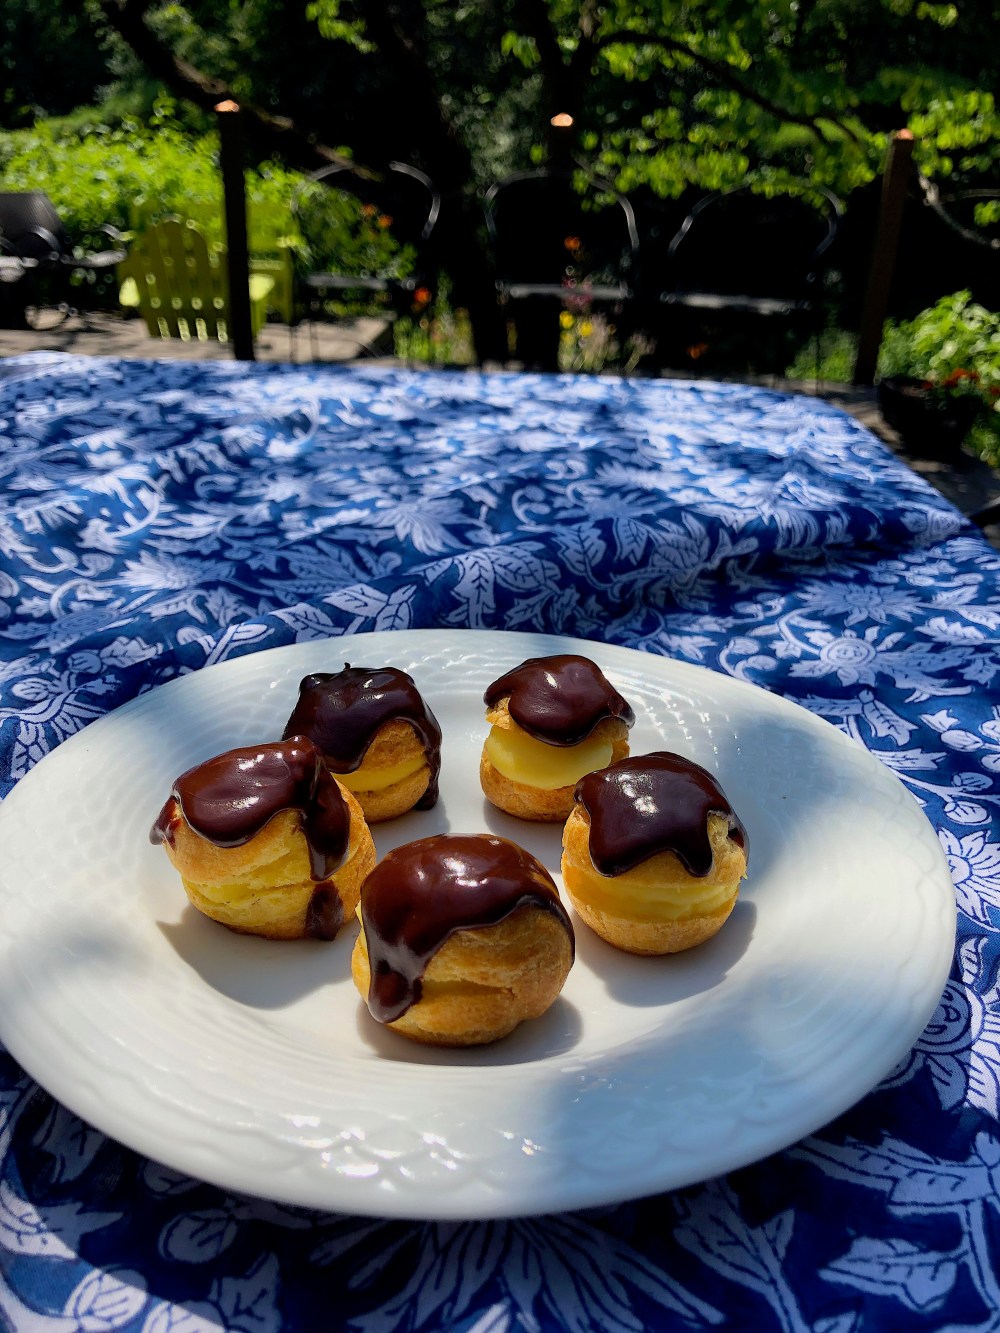
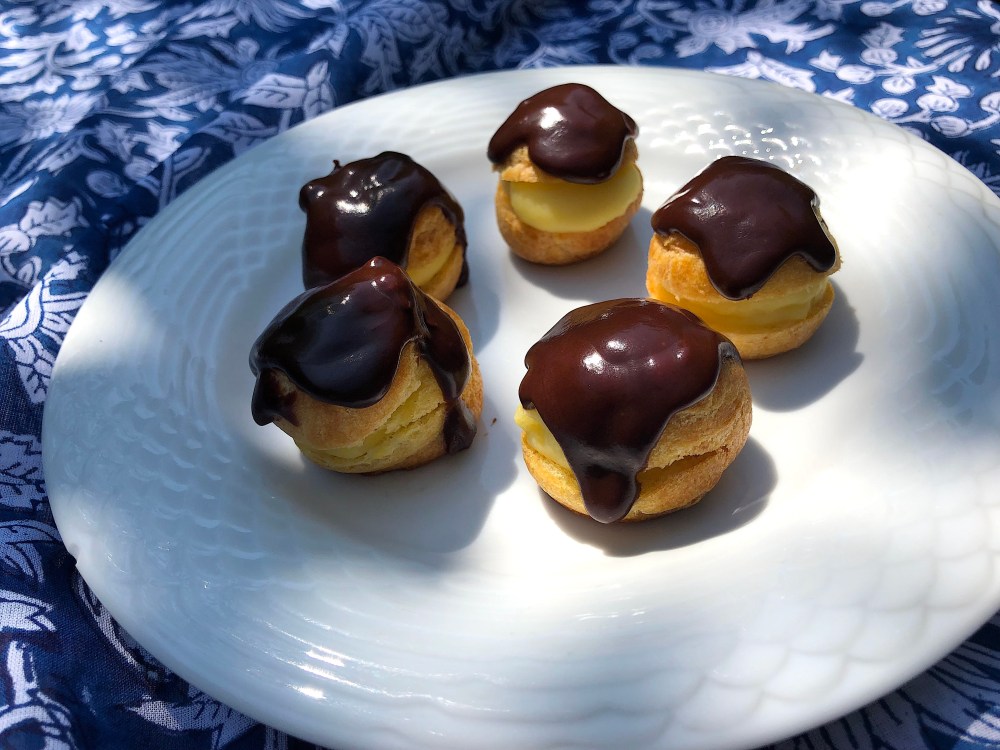
I’ve been sitting on this recipe for a couple of weeks now, and am finally getting around to posting it. Finally! A few weeks ago I was asked to make over a hundred classic cream puffs for a wedding, the only problem being that the last time I had made an actual classic cream puff with vanilla pastry cream I was about seven years old. Yes, I was the type of seven year old that would make cream puffs and eclairs for fun. The surprising part of it all was that I remember finding it ridiculously easy, and them turning out, in my seven year old mind, perfect. I had this crazy children’s cook book that walked you through each step of the baking process, and showed you how to convert basic bake goods into whimsical creatures. My cream puffs and eclairs would become spiders and ants with licorice legs and buttercream eyes. One of my favorite recipes turned two 9 inch cake rounds into a dragon! Unfortunately, I no longer have this wonderful cook book, so it was back to the drafting boards for me, but fortunately, I have made plenty of pâte à choux in recent years. It’s just been awhile since I’ve paired it with a classic pastry cream, and I’ve never made so much of it at once, or assembled them in the back of a hot kitchen tent. It was a bit of a stressed filled scramble, but they turned out surprisingly well. Anyways, these adorable mini cream puffs where made at home as a practice round. They are the perfect size for popping directly into your mouth. A little cloud of happiness.

Vanilla Pastry Cream
Make it the day before so that the cream can fully cool and set. You can rush cool it the day of, but it’s easier to just save yourself the headache, and make it in advance. You can make your pastry cream up to three days in advance. This recipe makes about 2 cups of pastry cream.
Ingredients:
- 2 cups Milk
- 6 Egg Yokes
- 1/2 cup Sugar
- 1/3 cup sifted Cornstarch
- 1 Vanilla Bean (or 1 1/2 tsp Vanilla Extract)
- 3 1/2 tbsp Butter
Directions:
- Scrape the insides of the vanilla bean into the milk, or just pour in the extract.
- Warm the milk in the microwave (or on the stove top). You don’t want it scalding, but you want it warm enough to temper the egg yokes.
- In a sauce pan (not on heat) whisk together the yokes, sugar, and cornstarch.
- Temper the egg yokes with 1/4 cup of the warmed milk. Whisk the egg yoke mixture while slowly pouring in the milk.
- Pour in the remaining milk while continuing to whisk.
- Place the sauce pan onto a medium heat, and continue to whisk it until the cream begins to thicken.
- Remove the cream from the heat, and allow it to rest four about 5 minutes.
- Stir in the butter, until fully melted and incorporated.
- Store your pastry cream in a clean container with plastic wrap pressed down onto the surface of the cream to minimize air exposure.
Pâte à Choux
Bake the day of, but plan for sufficient cooling time between baking your puffs and filling them. If you want to make your puffs a few days in advance, you can pipe and freeze the raw dough, pulling them straight from the freezer and placing them directly into the oven without giving them time to thaw.
Ingredients:
- 1/2 cup Whole Milk (or 1 cup low fat Milk and no water)
- 1/2 cup Water
- 1/2 cup Butter
- 1 tbsp Sugar
- 1/2 tsp Salt
- 1 cup sifted Flour
- ~ 4 Eggs
Directions:
- Preheat the oven to 425 F ( ~218 C).
- Place the milk, butter, water, salt, and sugar into a sauce pan, and bring it to a boil.
- Dump all of the flour into your milk mixture, and reduce the heat slightly.
- Vigorously stir the flour into the milk, until the dough drys out slightly and binds together into a large ball. This usually only takes a minute or two.
- Remove the dough from the heat, transfer the dough into a mixing bowl, and allow it to cool slightly for a couple of minutes.
- The EGGS. This is the step that will make or break your pâte à choux. The eggs are what gives the pâte à choux its structure, but you have to be extremely careful in how you go about incorporating them. This is where patience really pays off, and where practice makes perfect. An experienced baker will be able to tell by appearance and texture when the pâte à choux has absorbed the optimum amount of eggs, and that doesn’t always correlate with an exact egg count. Instead they’ll beat together a few eggs, and methodologically pour them in until the choux is just right. Another hangup when adding the eggs into pâte à choux is that you have to time it right. You can’t add the eggs all at once, you need to work gradually and allow the egg to be full incorporated into the dough before adding more. For this recipe, and to make things easier for a pâte à choux novice, I have given you a set number of eggs, that should get you into the pâte à choux ballpark, and I have opted to not beat the eggs together before hand, which will give you a fairly standard measure for incorporating the eggs into the dough. So attach your mixing bowl to a stand mixer, or pick up some hand beaters or a sturdy wooden spoon, and begin to mix your dough, which should be cool enough to not curdle the eggs on contact but still warm enough to release a bit of heat. Add your first egg, and continue to mix. The dough will loosen (possibly break apart slightly) and grow shiny, continue to mix until the egg has fully been absorbed into the mixture and the dough has become uniform and dull again. Add the next egg, and give it the same treatment as the last. Do the same for the next two eggs, one at a time. You should end up with a dough that not super shiny, but a little glossier then the dough that came out of the sauce pan, and has a little bit of give but is still firm enough to hold it’s shape when piped.
- Pipe the dough onto parchment lined baking sheets, giving it plenty of space to grow. If your aiming to make a mini cream puff, as advertised, pipe the pâte à choux out into Hersey kiss sized kisses using your finger tip to softly press down the points.
- Move your puff directly into the oven or freezer.
- Once you’ve placed the puffs in the oven reduce the heat to 375 F (~190 C).
- Bake for 8 – 10 minutes before rotating the puffs and baking them for another 8-10 minutes. Larger puffs should be baked for about 12 minutes before being rotated.
- Remove from the oven and cool.
Chocolate Drizzle
Ingredients:
- 200 grams Chocolate
- 50 grams Butter
- 50 grams Heavy Cream
Directions:
- Warm the cream, either in a sauce pan or the microwave.
- In a double boiler, melt the chocolate and butter.
- Remove the chocolate from the double boiler, and slowly pour in the warm cream while continuing to stir. You should end up with a beautiful glossy topping.
Assemble
- For larger puffs you can poke holes into the bottoms of your puffs, and pipe the pastry filling in through the bottom, but for delicate mini cream puff it’s best to make a small incision into the side of each puff and fill them that way.
- Pipe the pastry cream into each puff.
- Drizzle the chocolate over the puffs. You could just hand dip them into the chocolate, but due to their tiny size they will look really messy.