My Mother put in a request for a Ben and Jerry’s ice-cream cake for her birthday this year, and while I love the ice-cream and cake combo, I have found that most commercial ice-cream cakes fail dismally when it comes to the cake side of the equation. If I wanted ice-cream in the shape of a cake, I would ask for ice-cream in the shape of a cake, but no, I want soft fluffy layers of delicate sponge carefully sandwiched between thick bands of frosty ice-cream assembled into a dreamy tower of sweet perfection.
As I was making this for my Mom’s birthday cake, I modeled it after here favorite flavor of Ben and Jerry’s ice-cream, which also features heavily in the cake itself, Coffee Coffee BuzzBuzz Buzz – a coffee ice-cream with chunks of chocolate covered espresso beans. I paired the ice-cream with layers of my Mom’s favorite chocolate cake, with I tend to bake every year for her birthday, anyways, a coffee buttercream frosting, and a thick layer of chocolate ganache.
I have found that when it comes to homemade ice-cream cakes two things are paramount 1) sufficient level freezer space and 2) patience. The longer you have to assemble the cake the better. This process can stretch-out over the course of days; a day to bake the cake, a night to fully cool it, a couple of hours to set each layer of ice-cream, an overnight stretch to allow the ice-cream to fully set up, a quick layer of frosting followed by an hour or two cooling before another hasty layer of frosting can be applied, and finally the last layer of decorations, in this case a thick drizzle of chocolate ganache, followed by a couple more hours in the freezer. Lets not forget, the 10 to 15 minutes of thawing required before cutting into your masterpiece. All in all, assembling an ice-cream cake is quite the process, but the actual time spent completing each step is only a matter of minutes followed by long stretches of waiting. I may have complicated matters further by selecting to use a delicate, moist cake that can be difficult to work with under regular circumstances, and my mocha ice-cream cake will probably not be winning any prizes in the looks department, but the flavors and textures are all there, and I feel like I have accomplished everything that set out to do with this delightfully, decadent summer treat – or at least my Mother seemed happy with it.
Mocha Ice-cream Cake
Ingredients:
- Chocolate Cake
- 2 pints Coffee Ice-cream
- Coffee Buttercream
- Chocolate Ganache
Directions:
- Bake the cake.
- Allow the cake to cool fully or overnight in the refrigerator. If you use the cake recipe below, the cake will be moist enough to withstand the refrigerator or freezer without drying out, especially, if you leave the cake in it’s pans and wrap it in plastic.
- Cut or trim the cake into three even layers. This step may not be necessary if you baked your cakes in three round cake pans.
- Place the bottom layer of cake on a flat freezable surface. I used a plastic cutting board that I could easily move in and out of my freezer. I found a metal baking sheet to large and cumbersome to use in my freezer, but that may work well for others.
- Remove a pint of ice-cream from the freezer, and either let it soften slightly at room temperate for a few minutes or give it a quick 10 second zap in the microwave to soften it.
- Scoop the ice-cream out evenly across the bottom layer of cake. Move quickly so that the ice-cream doesn’t melt into the cake underneath.
- Quickly and gently level the ice-cream with a metal butter knife or frosting spreader, and drop the second layer of cake on top of it creating your first ice-cream sandwich.
- Place the cake in the freezer for at least an hour to allow the layer of ice-cream to solidify.
- Remove the second pint of ice-cream from the freezer, and either let it soften slightly at room temperate for a few minutes or give it a quick 10 second zap in the microwave to soften it.
- Scoop the ice-cream out evenly across the second or middle layer of cake. Move quickly so that the ice-cream doesn’t melt into the cake underneath.
- Quickly and gently level the ice-cream with a metal butter knife or frosting spreader, and drop the top and final layer of cake on top of the final layer of ice-cream.
- Place the cake in the freezer for at least 12 hours or overnight to allow the cake to fully firm up.
- Whip up the buttercream.
- Remove the cake from the freezer, and trim off any overhanging cake or irregular edges.
- Cover the cake in a thin layer of buttercream filling in any gaps between the layers. Cake crumbs will still be visible after this step, but focus on filling the gaps and setting out an even foundation for the next layer of frosting.
- Place the cake in the freezer for at least an hour to allow the first layer of buttercream to solidify.
- Spread the second layer of buttercream over the cake, this time paying attention to smoothly covering the entire cake without any visible crumbs or bumps. Work quickly, you do not want the ice-cream layer to seep out through your frosting. If this step is taking to long, move the cake in and out of the freezer at 5 to 10 minute intervals.
- Place the cake in the freezer for at least an hour to allow the second layer of buttercream to solidify.
- Make the chocolate ganache.
- Allow the chocolate ganache to rest and cool slightly for about 10 minutes.
- At this point you may want to carefully transfer the cake onto a nicer serving dish that will also fit in your freezer.
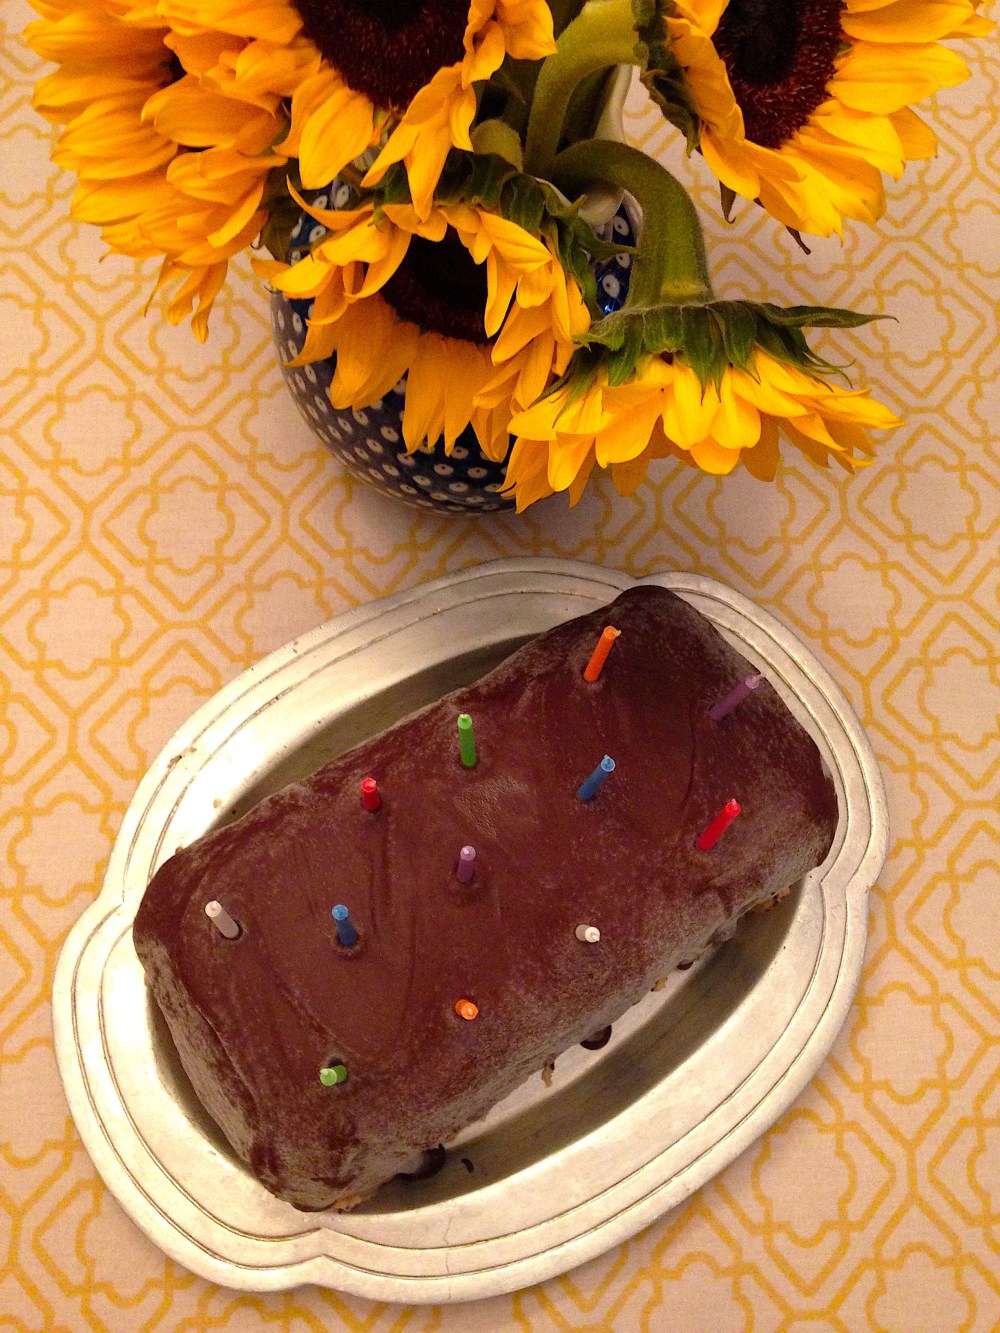
- Gently spoon the chocolate ganache over the cake, allowing it to artistically trail down the edges of the cake.
- At this point I added the birthday candles, before returning the cake to the freezer for the ganache to set.
- Allow the cake to set in the freezer for an additional 4 hours or so.
- Remove the cake from the freezer about 10 minutes before serving, and allow it to thaw slightly. This will make cutting and serving the cake easier.

Grandma Al’s Chocolate Cake
Ingredients:
- 1 1/2 cups Sugar
- 2 Eggs
- 1 cup Sour Cream
- 1 cup Coffee
- 1/2 cup Canola Oil
- 1 1/2 cups Flour
- 3/4 cup Cocoa
- 2 tsp Baking Soda
- 1 tsp Baking Powder
- 1 tsp Salt
Directions:
- Preheat oven to 350 F (~177 C).
- Grease two 9″x13″ rectangular or three 9″ circular cake pans depending on the shape of your cake. I went for the rectangular pans since a longer rectangular cake fit better in my freezer, but it also required the extra step of cutting and timing the cake into even layers, which may not be necessary when using the circular pans.
- Mix together: 1 1/2 cups sugar, 2 eggs, 1 cup sour cream, 1 cup coffee, and 1⁄2 cup vegetable oil.
- Sift in: 1 1⁄2 cups flour, 3⁄4 cup cocoa, 2 tsp baking soda, 1 tsp baking powder, and 1 tsp salt.
- Mix until fully combined.
- Pour the batter evenly into the greased pans.
- Bake for 30 – 35 minutes.
- Allow the cake to cool fully.
Coffee Buttercream
- 1/2 cup (1 stick) Butter
- ~l lb. Powdered Sugar
- pinch of Salt
- 2-3 tbsp strong Coffee
- Beat the sugar and salt into the butter.
- Add the coffee until the consistence is right.
Chocolate Ganache:
- 8 oz semi-sweet Chocolate chopped into even pieces
- 1/4 cup Cream
- Melt the chocolate and cream together in either a double boiler or the microwave.
- When the chocolate appears partially melted, remove it form the heat, and stir the ganache until it’s smooth and glossy.
- Allow the ganache to cool for about 10 minutes before spooning it over the cake.


Wonderful idea for a cake. Thanks for sharing.
LikeLiked by 1 person
You’re welcome!
LikeLiked by 1 person
This post is making my mouth water, and you have certainly spoiled your mum for her birthday. Those layers look amazing and your right about time and patience when it comes to making a cake like this. Great work on making an amazing recipe (:
LikeLiked by 1 person
Thanks!
LikeLiked by 1 person