From what I have been able to gather, English muffins are actually, very much an American phenomena, and the English part of the equation seems to be a vague illusion to the English crumpet? As someone who’s never tried a crumpet, I can’t extrapolate on their varying similarities and differences to an English muffin, but I do think that you would be hard pressed to find an American that hasn’t ever had the pleasure of eating an English muffin. Homemade English muffins are a little bit harder to come by, but well worth the effort. I think, their unusual cooking method and the whole process of yeast leavening scares people off. The unusualness of the process scared me off at first too, but I’m glad that I took that initial plunge and put my faith behind the unusual recipe.
Who would have thought that cooking bread on the stove-top, like a pancake, was a thing? I shouldn’t be surprised, people have been baking bread for centuries, and it was only a couple hundred years ago that baking powder and baking soda gained popularity as leavening agents. Still, I had my doubts. The primary one being – how can I guarantee that it’s cooked all the way though? Well, some how, it just is, and some how, it works – it’s just one of the tantalizing wonders of the English muffin.
It’s been awhile since I’ve posted a bread recipe, not that I’ve stopped making bread, but until recently I haven’t had enough time to do my bread recipes justice. I got my wild yeast starter up and running a couple of months ago, just in time for my winter bread baking, and I’ve really been perfecting it these past few weeks while I’ve been stuck at home. It’s a good thing too, seeing as my local grocery stores have been cleaned out of commercial yeast for weeks now. They were also cleared out of flour until recently. I’ve been having to adapt some of my favorite bread recipes to accommodate these crazy shortages, and some of them have actually turned out pretty well, such as the recipe below.
The first ingredient, that I swapped out for this recipe, was the commercial yeast. I actually did this more for the sourdough flavor, then due to a shortage of commercial yeast. If you have some commercial yeast on hand and don’t want to go through the process of developing a wild yeast starter, you can add a packet of dry active yeast or 2 1/4 tsp of dry active yeast in the place of the sourdough starter. Instead of letting the leaven develop over night, just set the dry active yeast sponge aside for about 10 minutes until it’s developed a nice layer of bubbles, then proceed do make the dough as instructed. Make sure that the water you use in your yeast sponge is warm, this will help activate your dry active yeast, but isn’t necessary for developing a leaven.
The second ingredient that I had to sub-out was the bread flour, which I couldn’t find in stores due to shortages. What I did find, was an box of vital wheat gluten lurking in the back of my baking cupboard. I added a little bit of that to my all-purpose flour to compensate for my lack of bread flour. Generally, I wouldn’t have to worry about the gluten content of my flour when making English muffins, but as I chose to use my wild yeast starter, I needed to up my gluten in order to compensate for the longer rise times, and ensure that my muffins held their shape. So if you are going to go with the dry active yeast variant, detailed above, go ahead and use regular flour.
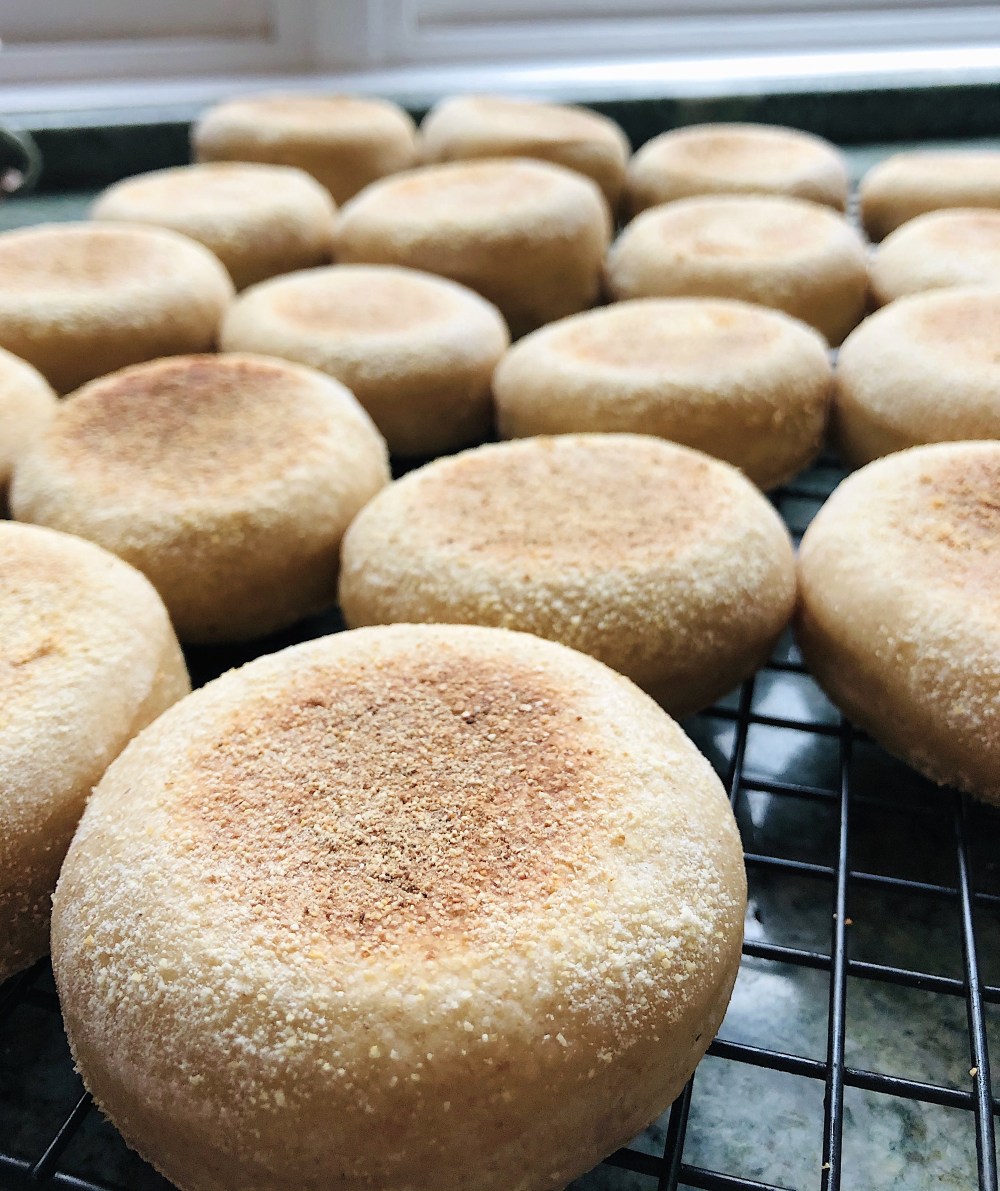
Recipe makes about a dozen 3″ muffins.
Ingredients:
- Leaven
- 4 cups Flour
- 1 tbsp Vital Wheat Gluten
- 2 tsp Salt
- 1 Egg
- 1 1/4 cup Milk
- 2 tbsp Butter (melted)
- Oil Spray
- ~ 1/4 cup Cornmeal for sprinkling
Directions:
Day 1: make Leaven
- 1 tbsp Wild Yeast Starter
- 1/2 cup Water
- 1/2 cup Flour
- 1 tbsp Honey
- Combine the above ingredients.
- Place in a covered container, and let it rise overnight at room temperature.
Day 2: make Dough
- Combine the leaven, egg, milk, and butter.
- Gradually add in the flour, salt, and wheat gluten.
- Knead until smooth and springy. You can do this by machine or by hand.
- Place the dough in a container and cover.
- I usually let me dough rise slowly overnight in the refrigerator. The wild yeast takes a lot longer to rise then it’s commercial equivalent, and as you are going to have to let it rise again, for several hours, once it’s been shaped, I find it simpler to just let it go overnight. Less to worry about. If you don’t want to wait overnight, place it in a warm, draft free spot and wait for it to rise and double in size. If you chose to do it this way, warming your milk and ensuring that your egg is room temperature before use, will speed the process along slightly.
Day 3: Shape and Cook
- Using a rolling pin, roll out your dough until it’s about 1/2 inch thick.
- Carefully, use a 3″ ring mold to cut out the English muffins. Do not overwork your dough. It will get harder to work with as you re-roll the dough, so take care to make as few scraps as possible. If the dough does get too hard to work with, let it rest for about half an hour before trying again, but keep in mind, that it’s best to just be careful from the beginning and handle the dough as little as possible.
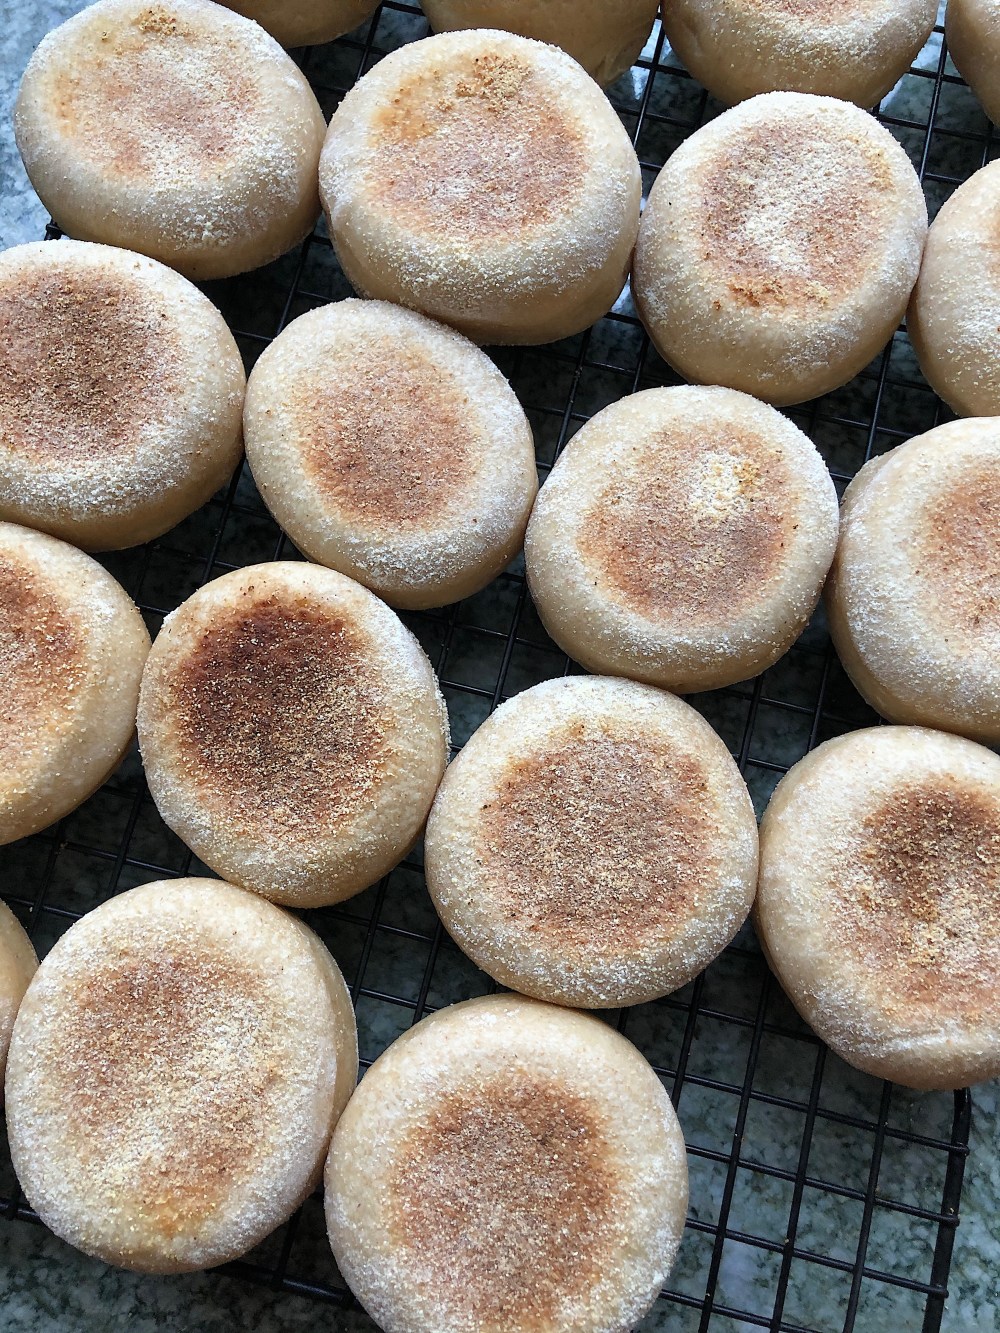
- Place the cut muffins on a cornmeal dusted surface.
- Dust with more cornmeal, and cover.
- Allow the muffins to rise for several hours, they won’t quite double, but they should be about 3/4 of an inch high, light, and slightly puffy.
- Heat up your skillet or griddle, I like to use my cast iron pans. You might want to consider heating up a couple of them so that you can cook multiple muffins at once. A nice medium heat is what you are aiming for – warm enough to radiate heat all of the way through the muffin, but cool enough that it won’t burn them. Adjust as you go until you find that sweet spot.
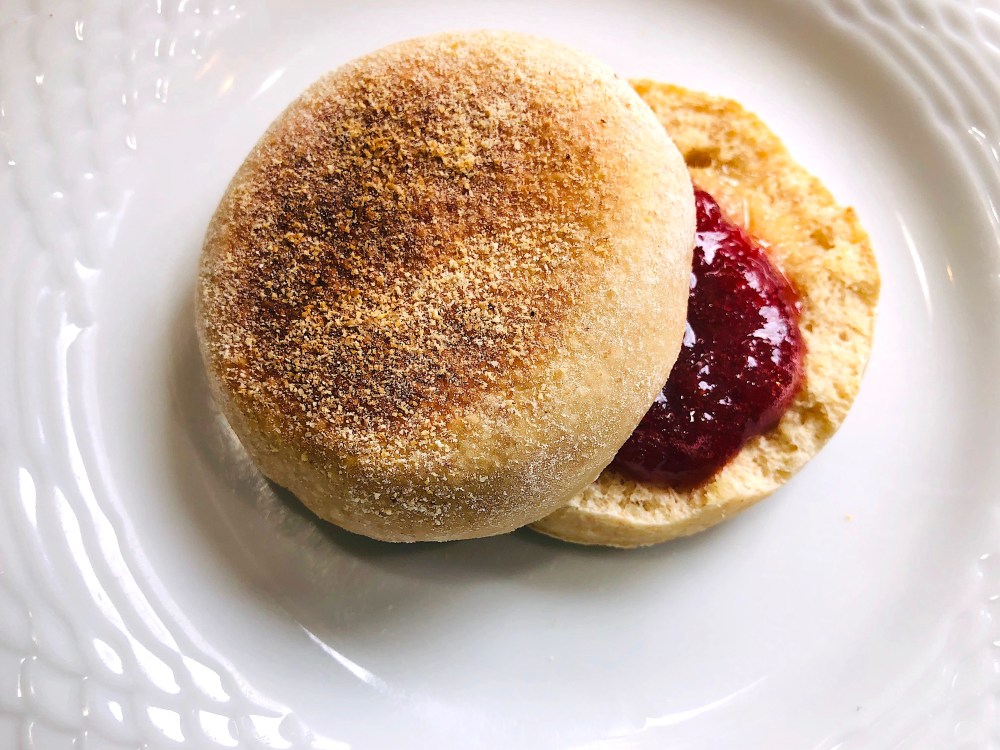
- Carefully place the muffins into the heated pans, and leave them to cook for about 10 minutes before flipping them over and allowing them to cook for another 10 minutes on the other side. You’ll know that your muffins are done when the edges are smooth, even in color, and dry. If they are darkening too quickly reduce the heat, and if they’re still fairly pale after 10 minutes increase it slightly.
- Transfer the cooked muffins onto cooling racks to cool.


2 Comments Add yours