
I have been sitting on this blog post for weeks. Writing about this process seemed like a massive daunting task that I was ill equipped to handle, after all, what do I really know about cultivating my own bread yeast? and messing around with all that bacteria? I’m likely to poison someone. I quickly got over that fear when I started my wild yeast leavened bread project last October, but I’m still nowhere near an expert. My only consolation is that all that bacteria eventually ends up in an extremely hot oven, and that people have been baking bread this way for thousands of years with much success. This is the “old school” method of bread making, that lost popularity in the early 20th century with the advent of commercial yeast, and has been slowly been making a comeback in recent years. Granted, this is an American perspective, a lot of European bakeries have maintained this tradition of bread baking for centuries.
So where to start?
I began this journey about six months ago, when winter first started settling in, under the impression that this would be an exciting new challenge and skill to master over the long winter months. That was my first mistake. I found out that a process that can take only days in a warm climate with fresh flowing air, can instead take weeks in a cold inclosed Vermont kitchen. But I stubbornly persevered until my yeast starter began to show signs of active life, only to have it all come to a screeching halt when I stupidly stored it in the refrigerator while out of town for Thanksgiving. My second mistake. Trusting cookbooks to adequately advise me on the care of my yeast starter, even though it went against the most basic of logic. This segues nicely into my third stumbling block – where to turn too for good information concerning this process? One of the most popular cookbooks detailing this process in the United States is the Tartine cookbook. It’s so popular that this process of using wild yeast to leaven your bread is often referred to as the Tartine Method. I figured that would be as good of a starting place as any. Over the following weeks I came to the conclusion that, although the “Tartine Method” did work, it was a nit-picky, wasteful, inefficient, and illogical way to go about making bread. It was also under their brilliant advisement that I refrigerated and killed my starter, which didn’t win them any extra brownie points with me. It did give me a jumping off point, though, and some key information on what to look for while growing a yeast starter. The rest of it I figured out for myself through much trial, error, and patience. My brother gifted me an Australian cookbook for Christmas, Forage, Ferment, and Feast, which also covered this process, but the details and directions in it are fairly vague. I love the concept of this book, but I have found that the recipes aren’t exactly solid. The first recipe from the book that I tested out was missing its main ingredient, but the book does embody the fun-loving, adventurous spirit of cooking and creating new foods while nurturing an understanding for where your food is coming from. A kindred spirit to help guide me on my latest baking adventure.
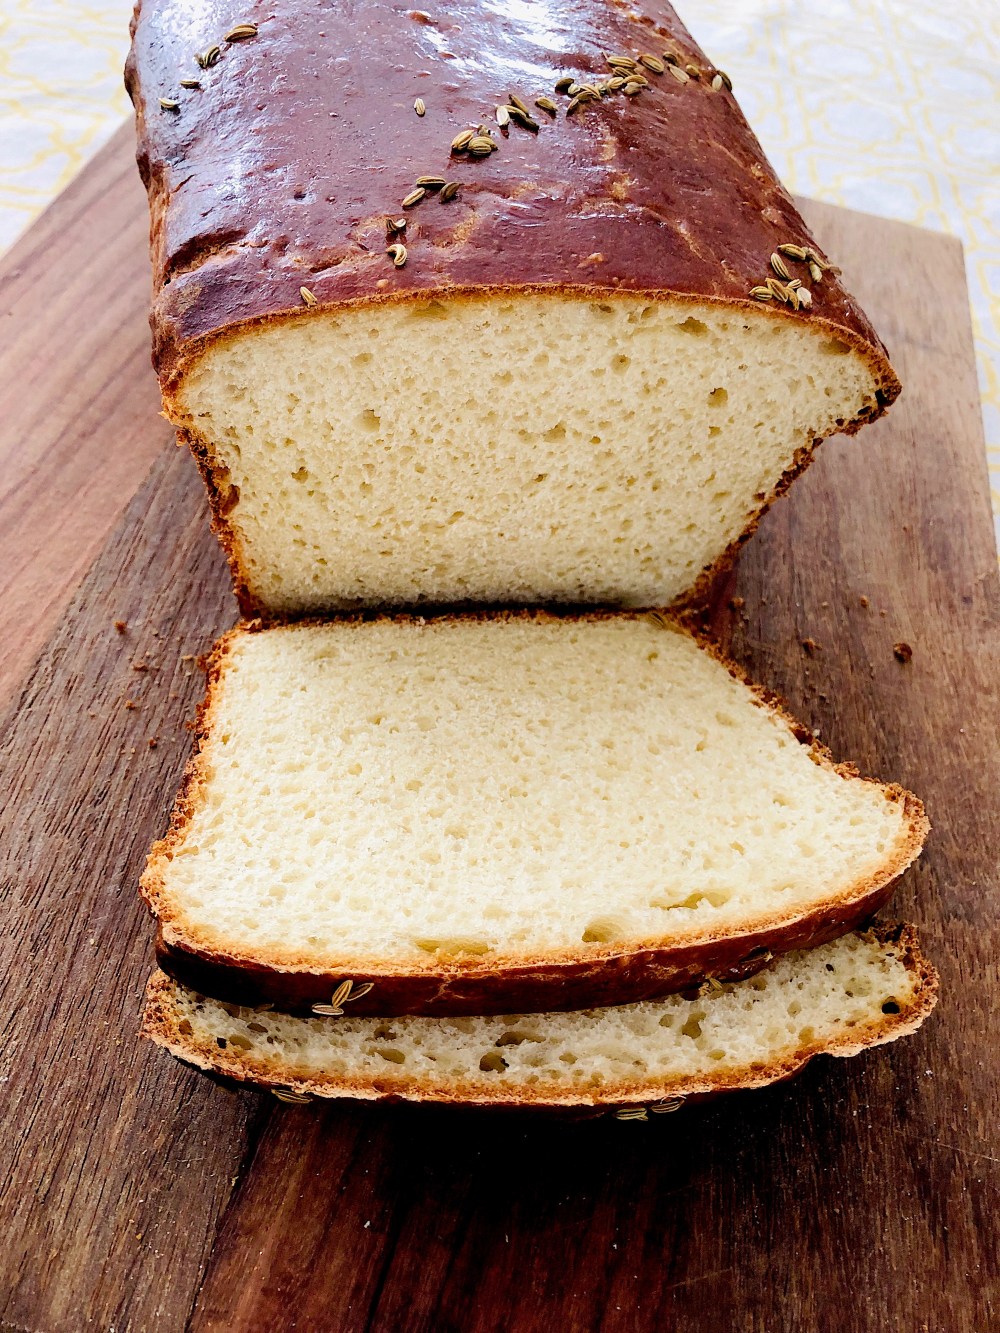
My White Bread Recipe made with my Wild Yeast Leaven
Wild Yeast Starter and Leaven
Ingredients:
- Flour
- Water (slightly warm or room temp)
- Time
- Patience
- Perseverance
- and an Inquisitive Spirit
- …but technically only Flour and Water are needed to get you started
Directions:
- The Start – Day One
- Stir together equal parts water and flour – about 150 grams of each is a good starting off point. Your mixture should have the consistency of pancake batter, this is your eyeballing rule of thumb, if the mixture is too wet add some more flour, likewise, if the mixture is too dry add a little more flour. Don’t over think it. This process is surprisingly forgiving.
- Find an out of the way spot in your kitchen to store your starter. The warmer the better, and make sure that space is well ventilated with fresh air moving through.
- Cover your starter with a kitchen towel, or some other cloth. You want to allow the air to get though while also offering some protection from the larger particles bouncing around your kitchen.
- Maturing your Starter – Day Two through… however long it takes.
- Feed your starter everyday with equal amounts of flour and water – about 50 grams of each if you’d like to weigh it.
- Every few days transfer the mixture into a clean bowl and cover it with a clean cloth.
- After a few days (or a few weeks in a colder setting) your mixture should begin to rise and fall, and it’s smell will change from a sour pungent scent to a sweeter fermented aroma. Again, depending on the temperature of the kitchen and the abundance of wild yeast spores, this stage of the process can take anywhere from a few days to several weeks. Keep up the feeding until your starter shows signs of a regularly rising and falling after each feeding.
- Once your starter shows signs of a steady rise and fall, you’ve achieved a mature starter. This is the state in which you should actively try to maintain your starter – the base line. It’s from this point that you can begin to turn your starter into leaven. This is also the point at which you can begin to store and abandon your starter for a few days without entirely reversing the process. You can tightly seal your starter, and leave it at room temperature for about a week, before returning to the regular feedings and rebuilding it’s activity. If you amass too much starter, and don’t want to waste it or don’t have the time to convert it into leaven and bread, you can easily add it into other baked goods such as muffins, pancakes, or waffles.
- Leaven for your Bread
- A couple of days before you want to bake bread, you are going to begin to increase the activity of your mature yeast starter by feeding it twice a day, once in the morning and once in the evening.
- There’s an easy way to test the readiness of your leaven. Drop a glob of the leaven into a glass of water, and if the leaven floats (even if its hovering right under the water line) it’s ready for baking.
- Baking Bread from your Leaven
- I have found that baking bread with a wild yeast leavening it is very similar to baking bread with commercial yeast, with a few notable exceptions. I have also been able to easily adapt some of my commercial yeast recipes to this method of baking by simply treating my leavening as the base sponge for my bread. Here are a few key tips and notes that I have amassed concerning this process:
- Beware of the salt. Bacteria, including yeast, is very sensitive to salt. To avoid reducing the efficacy of the yeast add in the salt after most of the other ingredients. I have found that adding the salt after half of the required flour has been mixed in works well.
- Use bread flour or other flours that have a slightly higher gluten content then your regular all purpose flour. The wild yeast needs that additional bit of elasticity to retain it’s form.
- Wild yeast bread tends to knead and proof differently then regular commercial yeast bread, and it’ll take a few tries to acquaint yourself to these new indicators. In the recipe below I have outlined and described the basic signs that I was able to identify as different then what you would expect to see in commercial yeast bread.
- I have found that baking bread with a wild yeast leavening it is very similar to baking bread with commercial yeast, with a few notable exceptions. I have also been able to easily adapt some of my commercial yeast recipes to this method of baking by simply treating my leavening as the base sponge for my bread. Here are a few key tips and notes that I have amassed concerning this process:
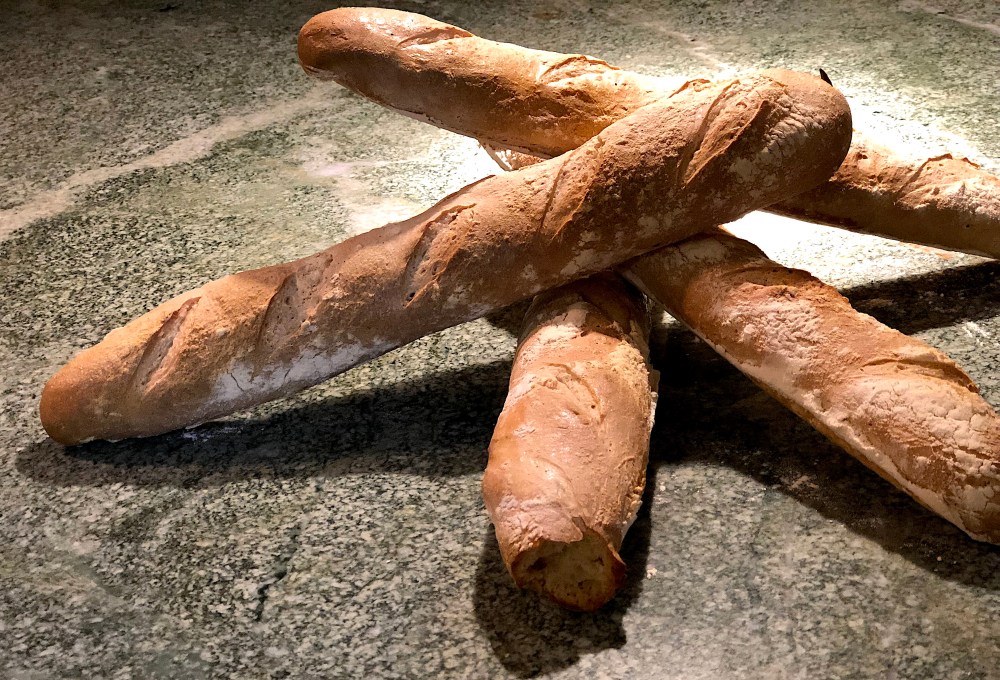
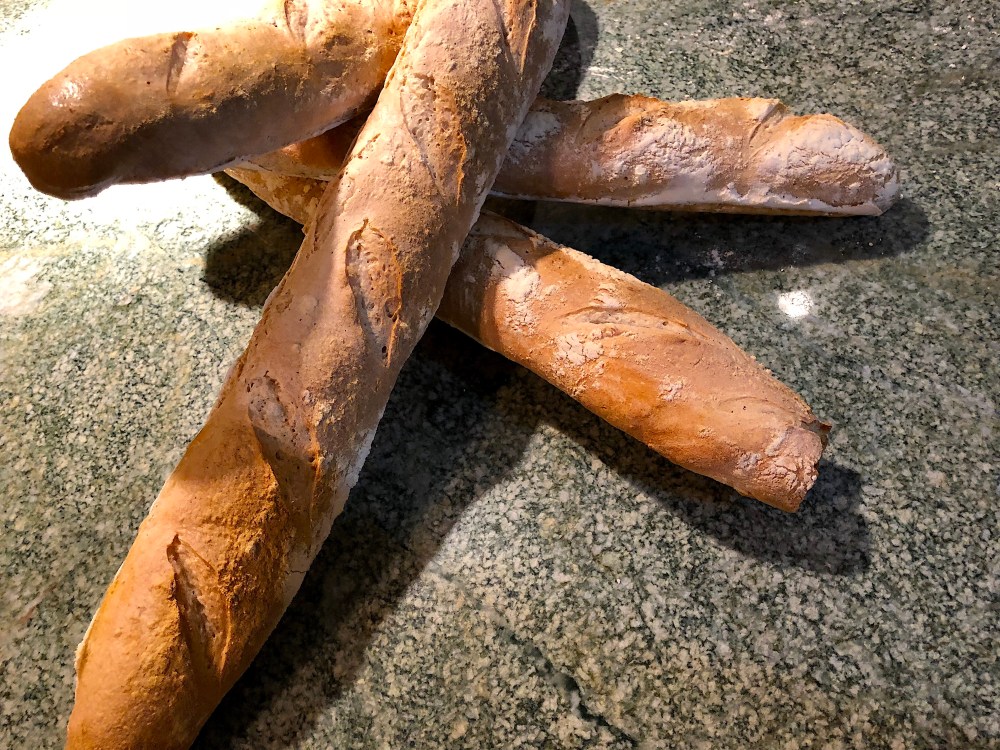
Wild Yeast Leavened French Bread
Ingredients:
- 2 cup Wild Yeast Leaven
- 1 cup warm Water
- 2 cups Bread Flour
- 1-2 cups All Purpose Flour
- 2 tbsp Sweetener (maple syrup, agave, sugar, or honey)
- 2 tsp Salt
Directions:
- In a standmixer combine the wild yeast starter, water, and sweetener.
- While continuing to mix, add in 1 cup of bread flour.
- Add in the salt.
- Gradually add in the remaining flour until the dough has pulled away from the sides of the bowl.
- Knead the dough, with a dough hook if possible, until it begins to bounce back slightly. You will notice how the texture of the dough is different from the texture of dough made from commercial yeast. It seems to be slightly slacker then commercial yeast dough, and takes almost twice as long to form that characteristic elastic bounce. When it does start to bounce back, the response will be slight and slower then what you would normally expect to see with commercial yeast. The dough will also look pretty scraggly and rough compared to the smooth surfaces of commercial yeasted bread. This is due to the higher gluten content we’ve introduced into the dough with the use of bread flour. Don’t worry, as the dough rests, and the gluten activates the dough will take on its characteristically smooth appearance.
- Place the dough into a greased and sealed container.
- Allow the dough to rise in a warm spot until doubled, 2-5 hours. My kitchen tends towards the cold side of things, which can really affect how long it takes my dough to rise. I sometimes preheat my oven to its lowest setting, turn the oven off, wait 5-10 minutes, and then store the dough directly in the oven to keep it warm. If you choose to do this, you want to make sure that the oven has sufficiently cooled, so that you are not cooking the dough, and that your dough rising container is tightly sealed, so that the dough does not dry out.
- Punch down the dough, and lightly knead it by hand until the dough smooth and bounces back slightly.
- Form your dough into the desired boules or baguettes.
- Cover your bread so that it does not dry out, and allow your dough to rise until doubled for a second time. Once again, the warmer the kitchen the faster the bread will rise. Don’t overproof your bread, it’ll pop like a balloon and loose it’s form. You want to catch it before the bread begins to loose it’s rounded dome-like shape. It seems to be easier to overproof this bread then underproof it, and it’s okay to bake the bread when it still bounces back slightly when prodded.
- A hour to half a hour before baking preheat your oven to 425 F (218 C). If you are using a baking stone preheat your oven for slightly longer and at a higher temperature before reducing the heat back down to 425 F right before sticking the bread in.
- Score the bread.
- Fill a baking pan with several handfuls of ice cubes, and place it on the bottom rack of your oven.
- Bake the bread for 35 minutes – 60 minutes depending on how you’ve decide to shape it.


7 Comments Add yours