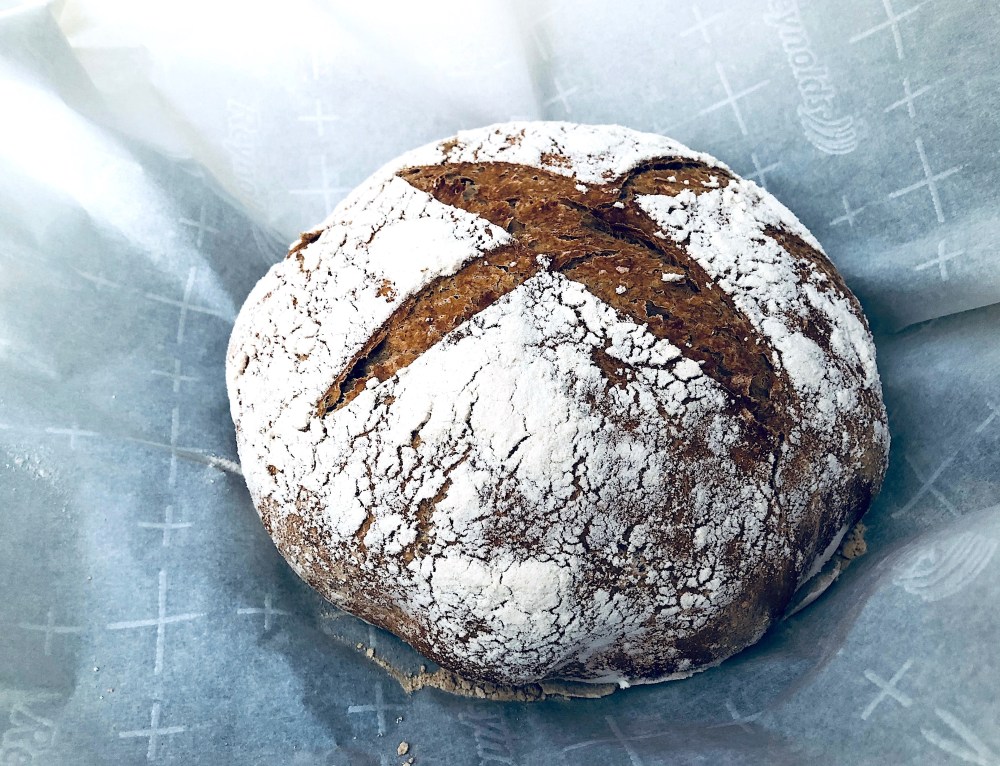
I’m revisiting my basic wild yeast leaven boule recipe with new tips and strategies to simplify and streamline the process. I have come to realize, that even though I like the look of bread proofed in baskets, it’s not the most efficient way to proof wild yeast leavened bread. Wild yeast risen bread is more delicate then it’s commercial yeast equivalent, and the entire process of tipping your bead out of the basket into the oven can result in a lot of deflation and unusually shaped boules. It’s also harder to gauge how proofed the bread is when it’s hidden inside a basket, which posses a whole other set of easily avoidable problems. You also want to be able to score your bread before it fully finished proofing – an impossibility with a bread basket. This particular bread has a whole wheat sourdough base that’s been infused with honey.
Recipe makes 2 boules.
Ingredients:
- Leaven
- 1/4 cup Honey
- 1/2 cup Whole Wheat Flour
- 3 cup Flour
- 1 tbsp Salt
- 1 cup Water
Directions:
Day 1: make Leaven
- 1 tbsp Wild Yeast Starter
- 1/2 cup Water
- 1/2 cup Whole Wheat Flour
- 1 tbsp Honey
- Combine the above ingredients.
- Place in a covered container, and let it rise overnight at room temperature.
Day 2: make Dough
- Combine the leaven, water, and honey.
- Gradually add in the flours and salt.
- Knead until smooth and springy. You can do this by machine or by hand.
- Place the dough in a container and cover.
- I usually let me dough rise slowly overnight in the refrigerator. The wild yeast takes a lot longer to rise then it’s commercial equivalent, and as you are going to have to let it rise again, for several hours, once it’s been shaped, I find it simpler to just let it go overnight. Less to worry about. If you don’t want to wait overnight, place it in a warm, draft free spot and wait for it to rise and double in size. If you chose to do it this way using warm water will speed the process along slightly. The sourdough flavor will also develop more if it’s left overnight.
Day 3: Shape and Bake
- Divid your dough in half, and roll each half into a boule.
- Sprinkle the boule with copious amounts of flour. This will hopefully keep the bread from sticking when covered.
- Find a warm out of the way spot in your kitchen, and set out two (~ 14 inch x 14 inch) pieces of parchment paper.
- Set each boule in the center of the parchment, and cover them lightly with plastic wrap.
- Allow the bread to rise until almost doubled, this will likely take about three hours. Wild yeast is a little slower then commercial. If the plastic wrap begins to stick to the loaf add more flour.
- Half an hour before your bread is ready to bake, squeeze two dutch ovens into your oven and preheat it to 450 F (~232 C).
- Score the tops of your boules, and allow them to continue to rise while the oven is preheating.
- Once the oven is ready, carefully pull the hot dutch ovens out, and gently transfer each boule into them by lifting the boules by the corners of the parchment paper. The parchment paper should work like a sling to move and transfer the boule, gently lowering them into the hot pans. You will leave the parchment at the bottom of the pans throughout the baking process as it will also help you lift the bread out of the pans once it has been baked.
- Affix the lids on each dutch oven, and return them to the oven. Do not remove the lids from the dutch ovens throughout the baking process, this will create a moisture bath for the bread, which in turn, will give the bread a lovely crusty exterior.
- Bake the bread for 40 – 45 minutes. The internal temperature of the bread should be at least 180 F (82 C), and sound distinctly hallow when lightly tapped.
- Remove the bread from the oven, and transfer it directly to a wire cooling rack.